Step by step guide to change a dirt bike tire
 During my last tire change, I decided to make a guide on how to change a dirt bike tire at home. Changing a dirt bike tire can be a pain and is avoided by most riders, but when using the right tools, it can be done with ease and will be no harder than an oil change. For as long as I’ve owned dirt bikes, I’ve always changed my tires. I was too stubborn to pay a shop and I always wanted to work on my bike myself. I remember buying my first set of tire irons and promptly destroying the inner tubes on the first few tire changes and cursing myself as it would have been cheaper if I did bring it to a shop.
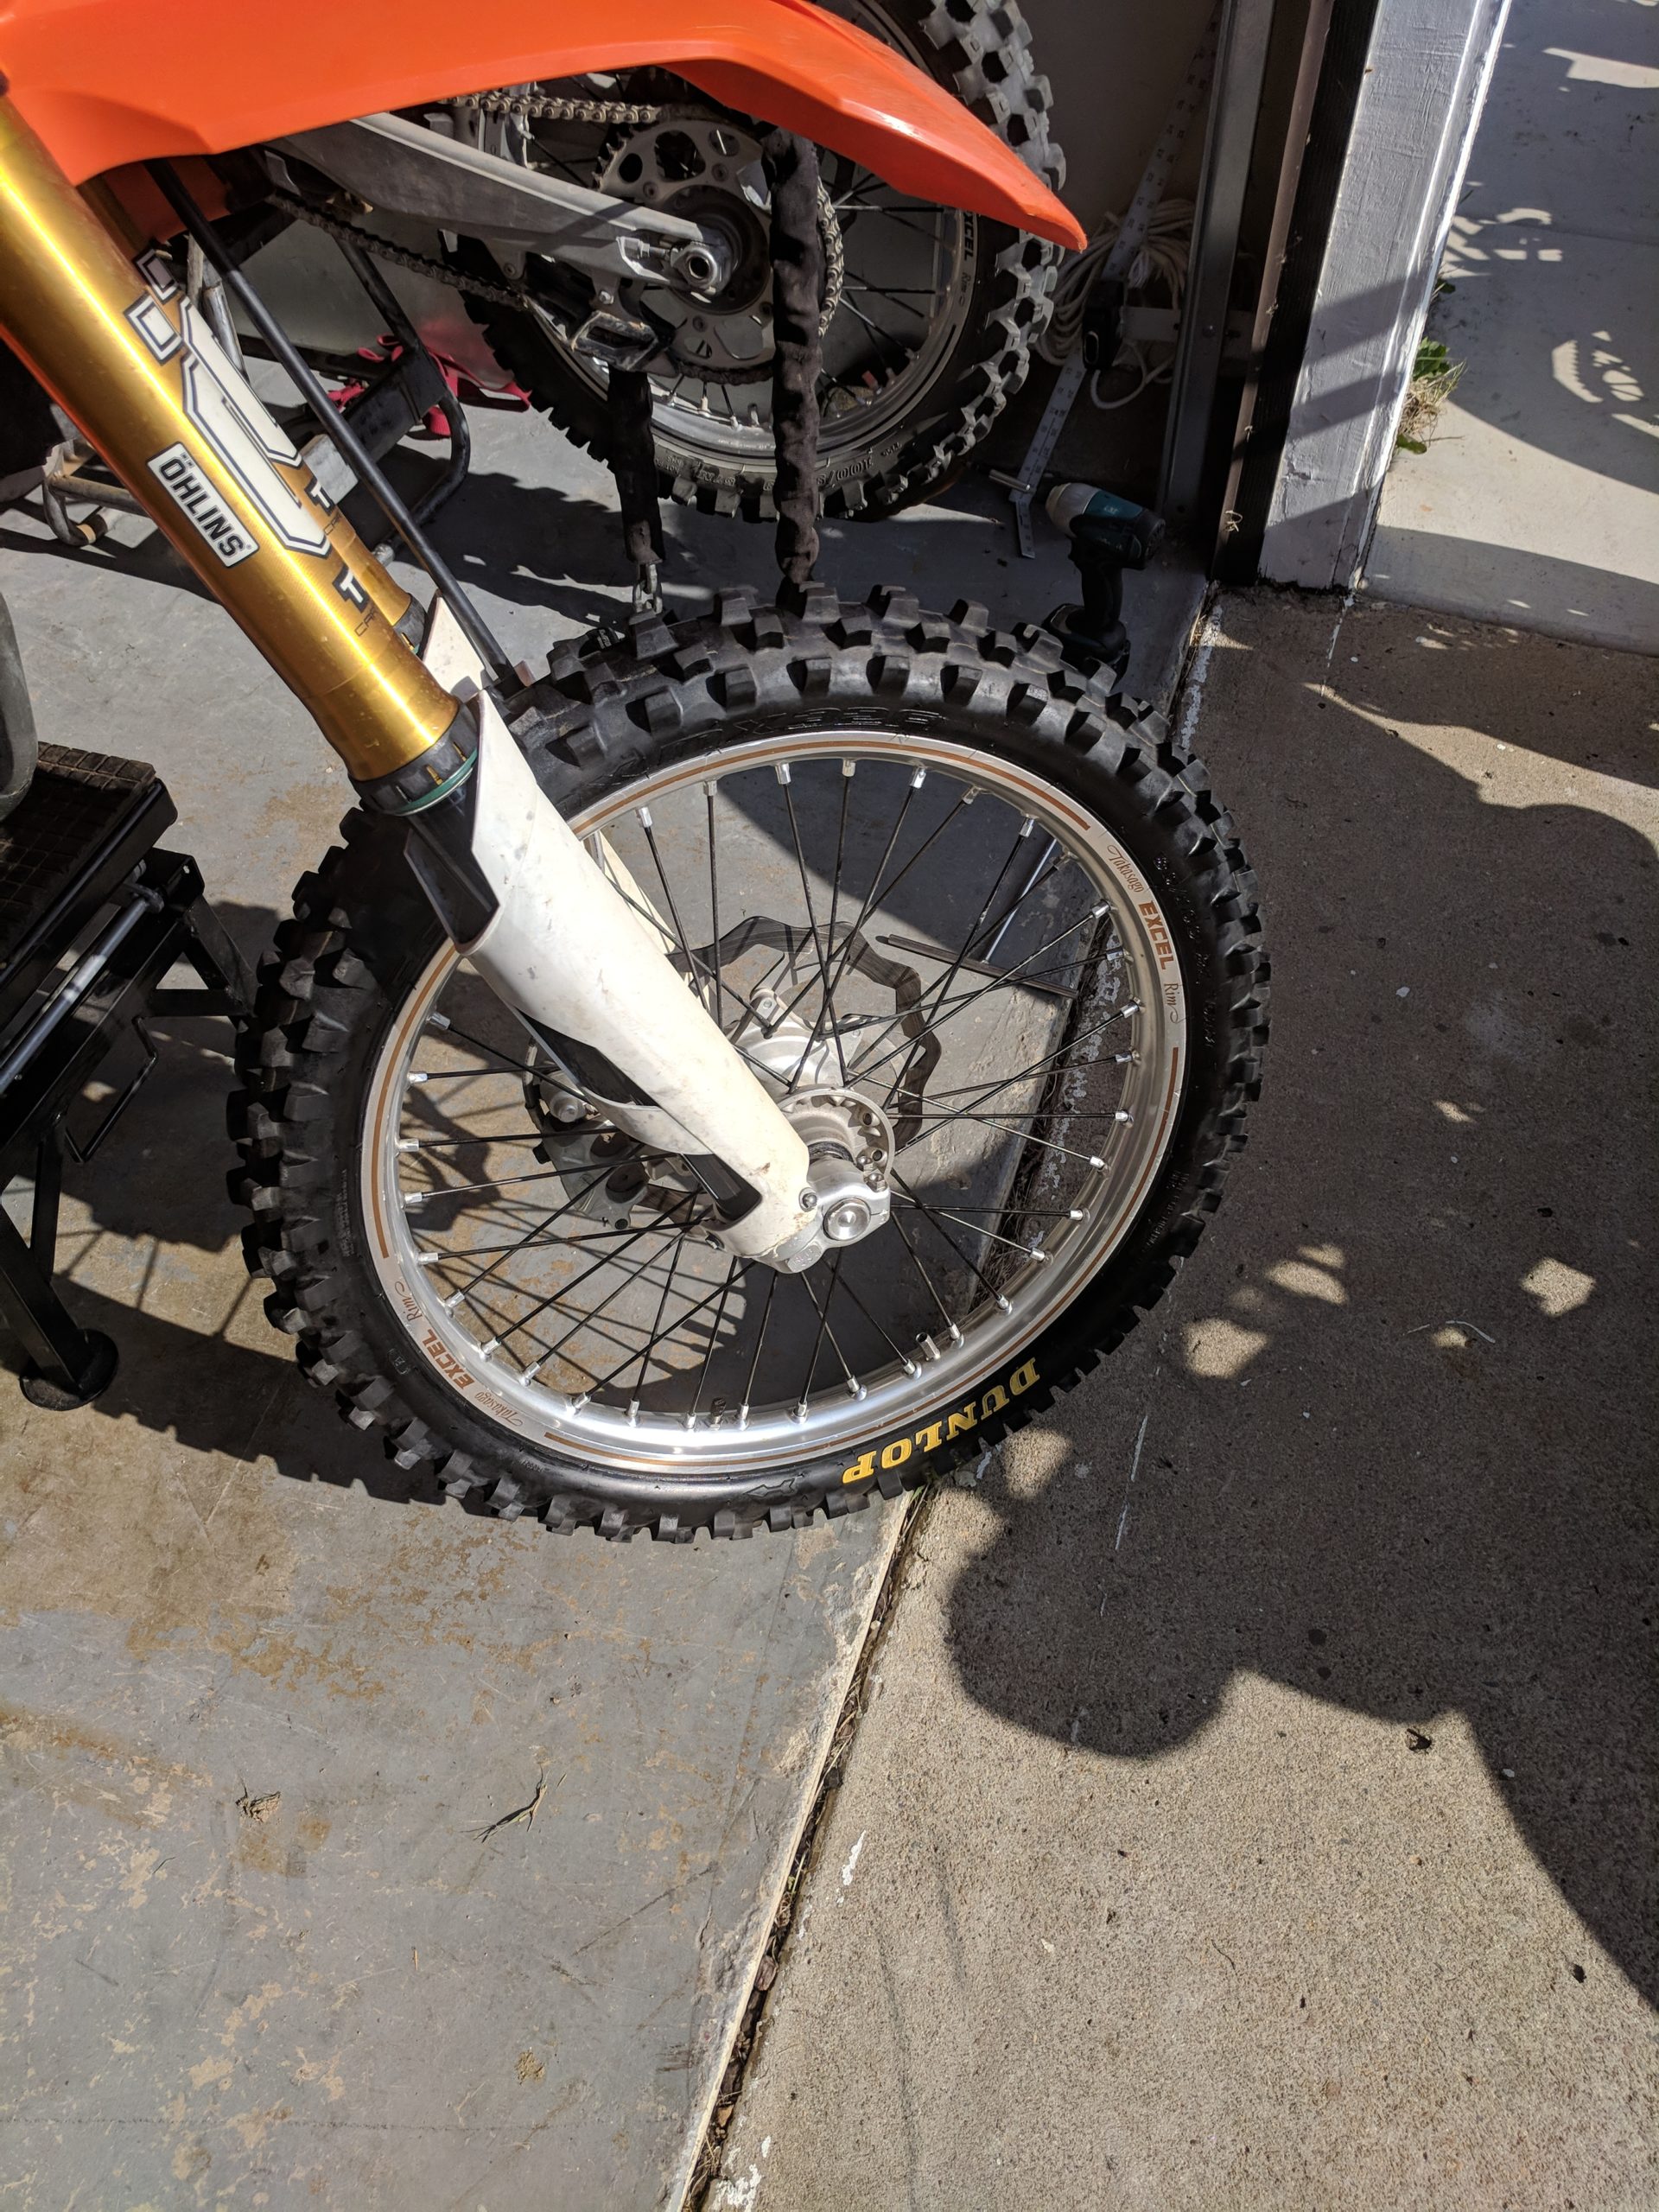
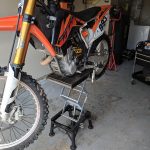
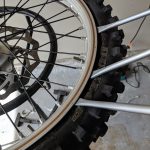
Now to change a dirt bike tire takes about 20 minutes and don’t think twice about it. It’s kind of nice to be able to mount your tires as soon as they get to your door or to swap out used tires for different riding or to flip tires around to use the sharp edge on both sides of the knobs. The following is my step by step guide for changing a dirt bike tire, from unmounting to re-installing on my 2014 KTM 450 SXF swapping out a Dunlop Geomax MX32.
Tools
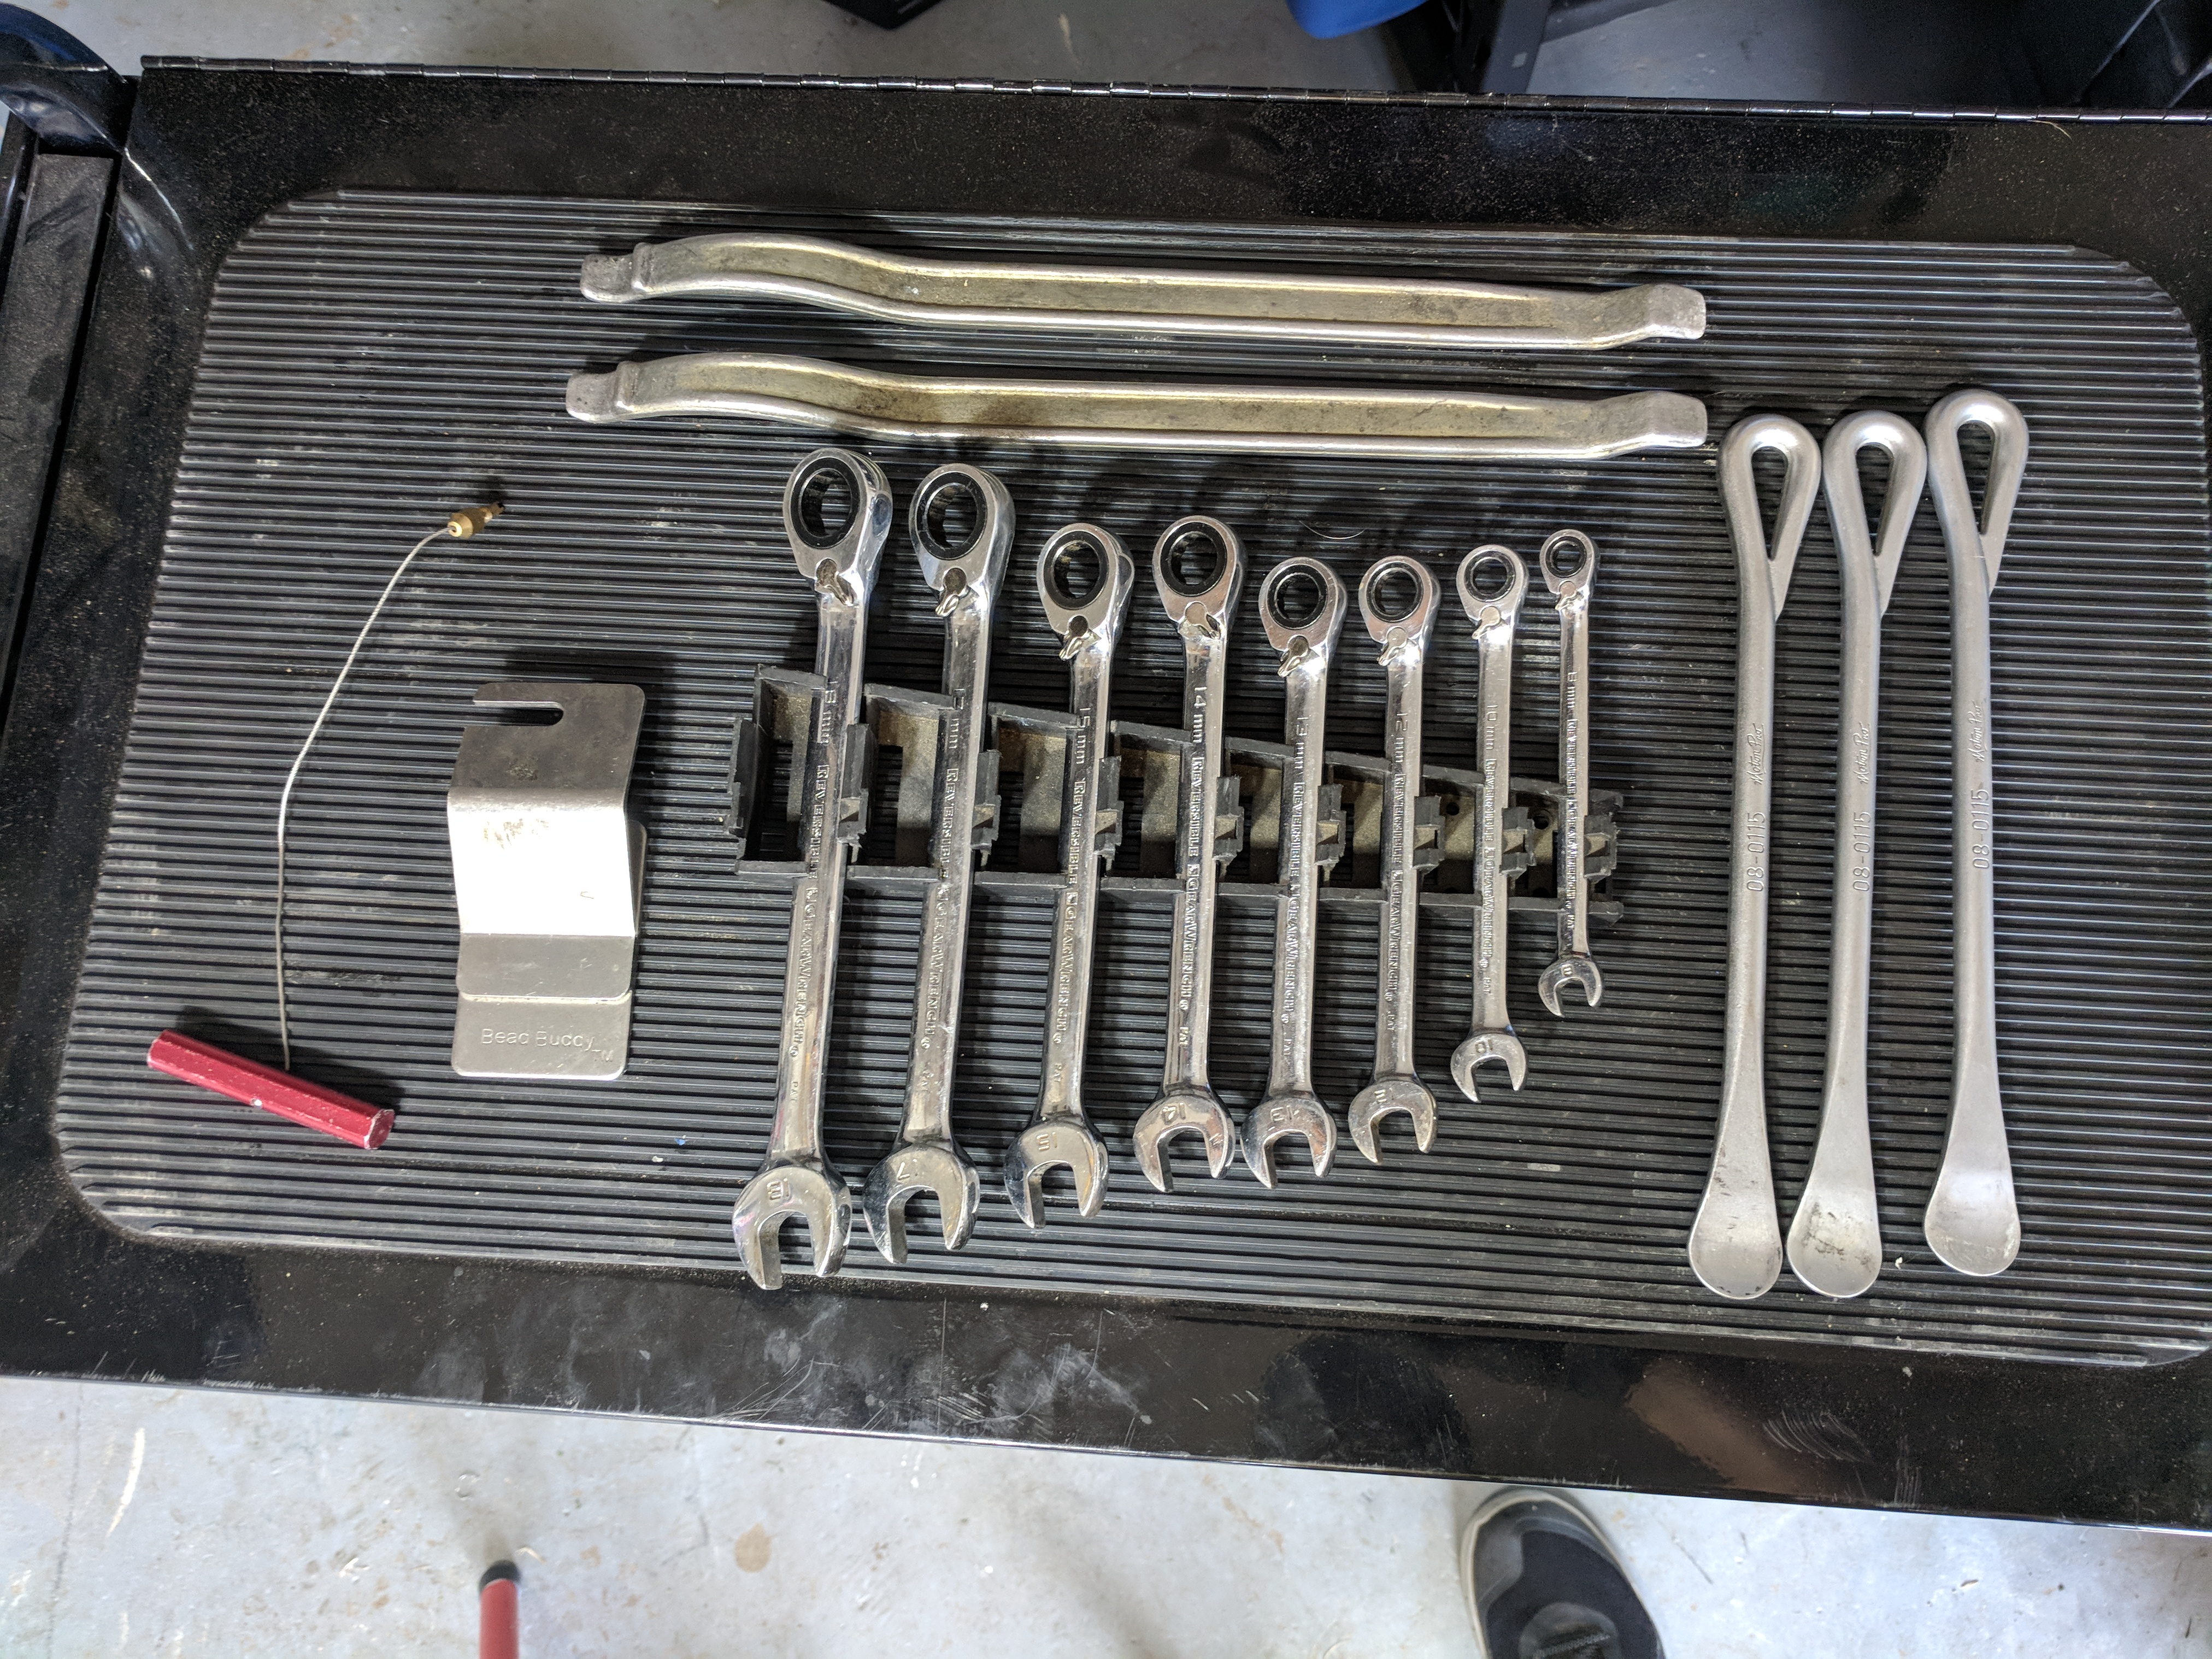
Over the years, I’ve accumulated all the tools I need to change a dirt bike tire. I started off with the 2 curved tire irons and then onto the 3 spoon type after learning a couple of tricks to make changing easier. After struggling and thinking “There’s got to be an easier way to do this!,” I found out about using a Bead Buddy, tire stem puller, tire changing lube, and lastly, a dedicated tire stand. Here is a post where I talk about all the tools I use.
Tire and inner tube
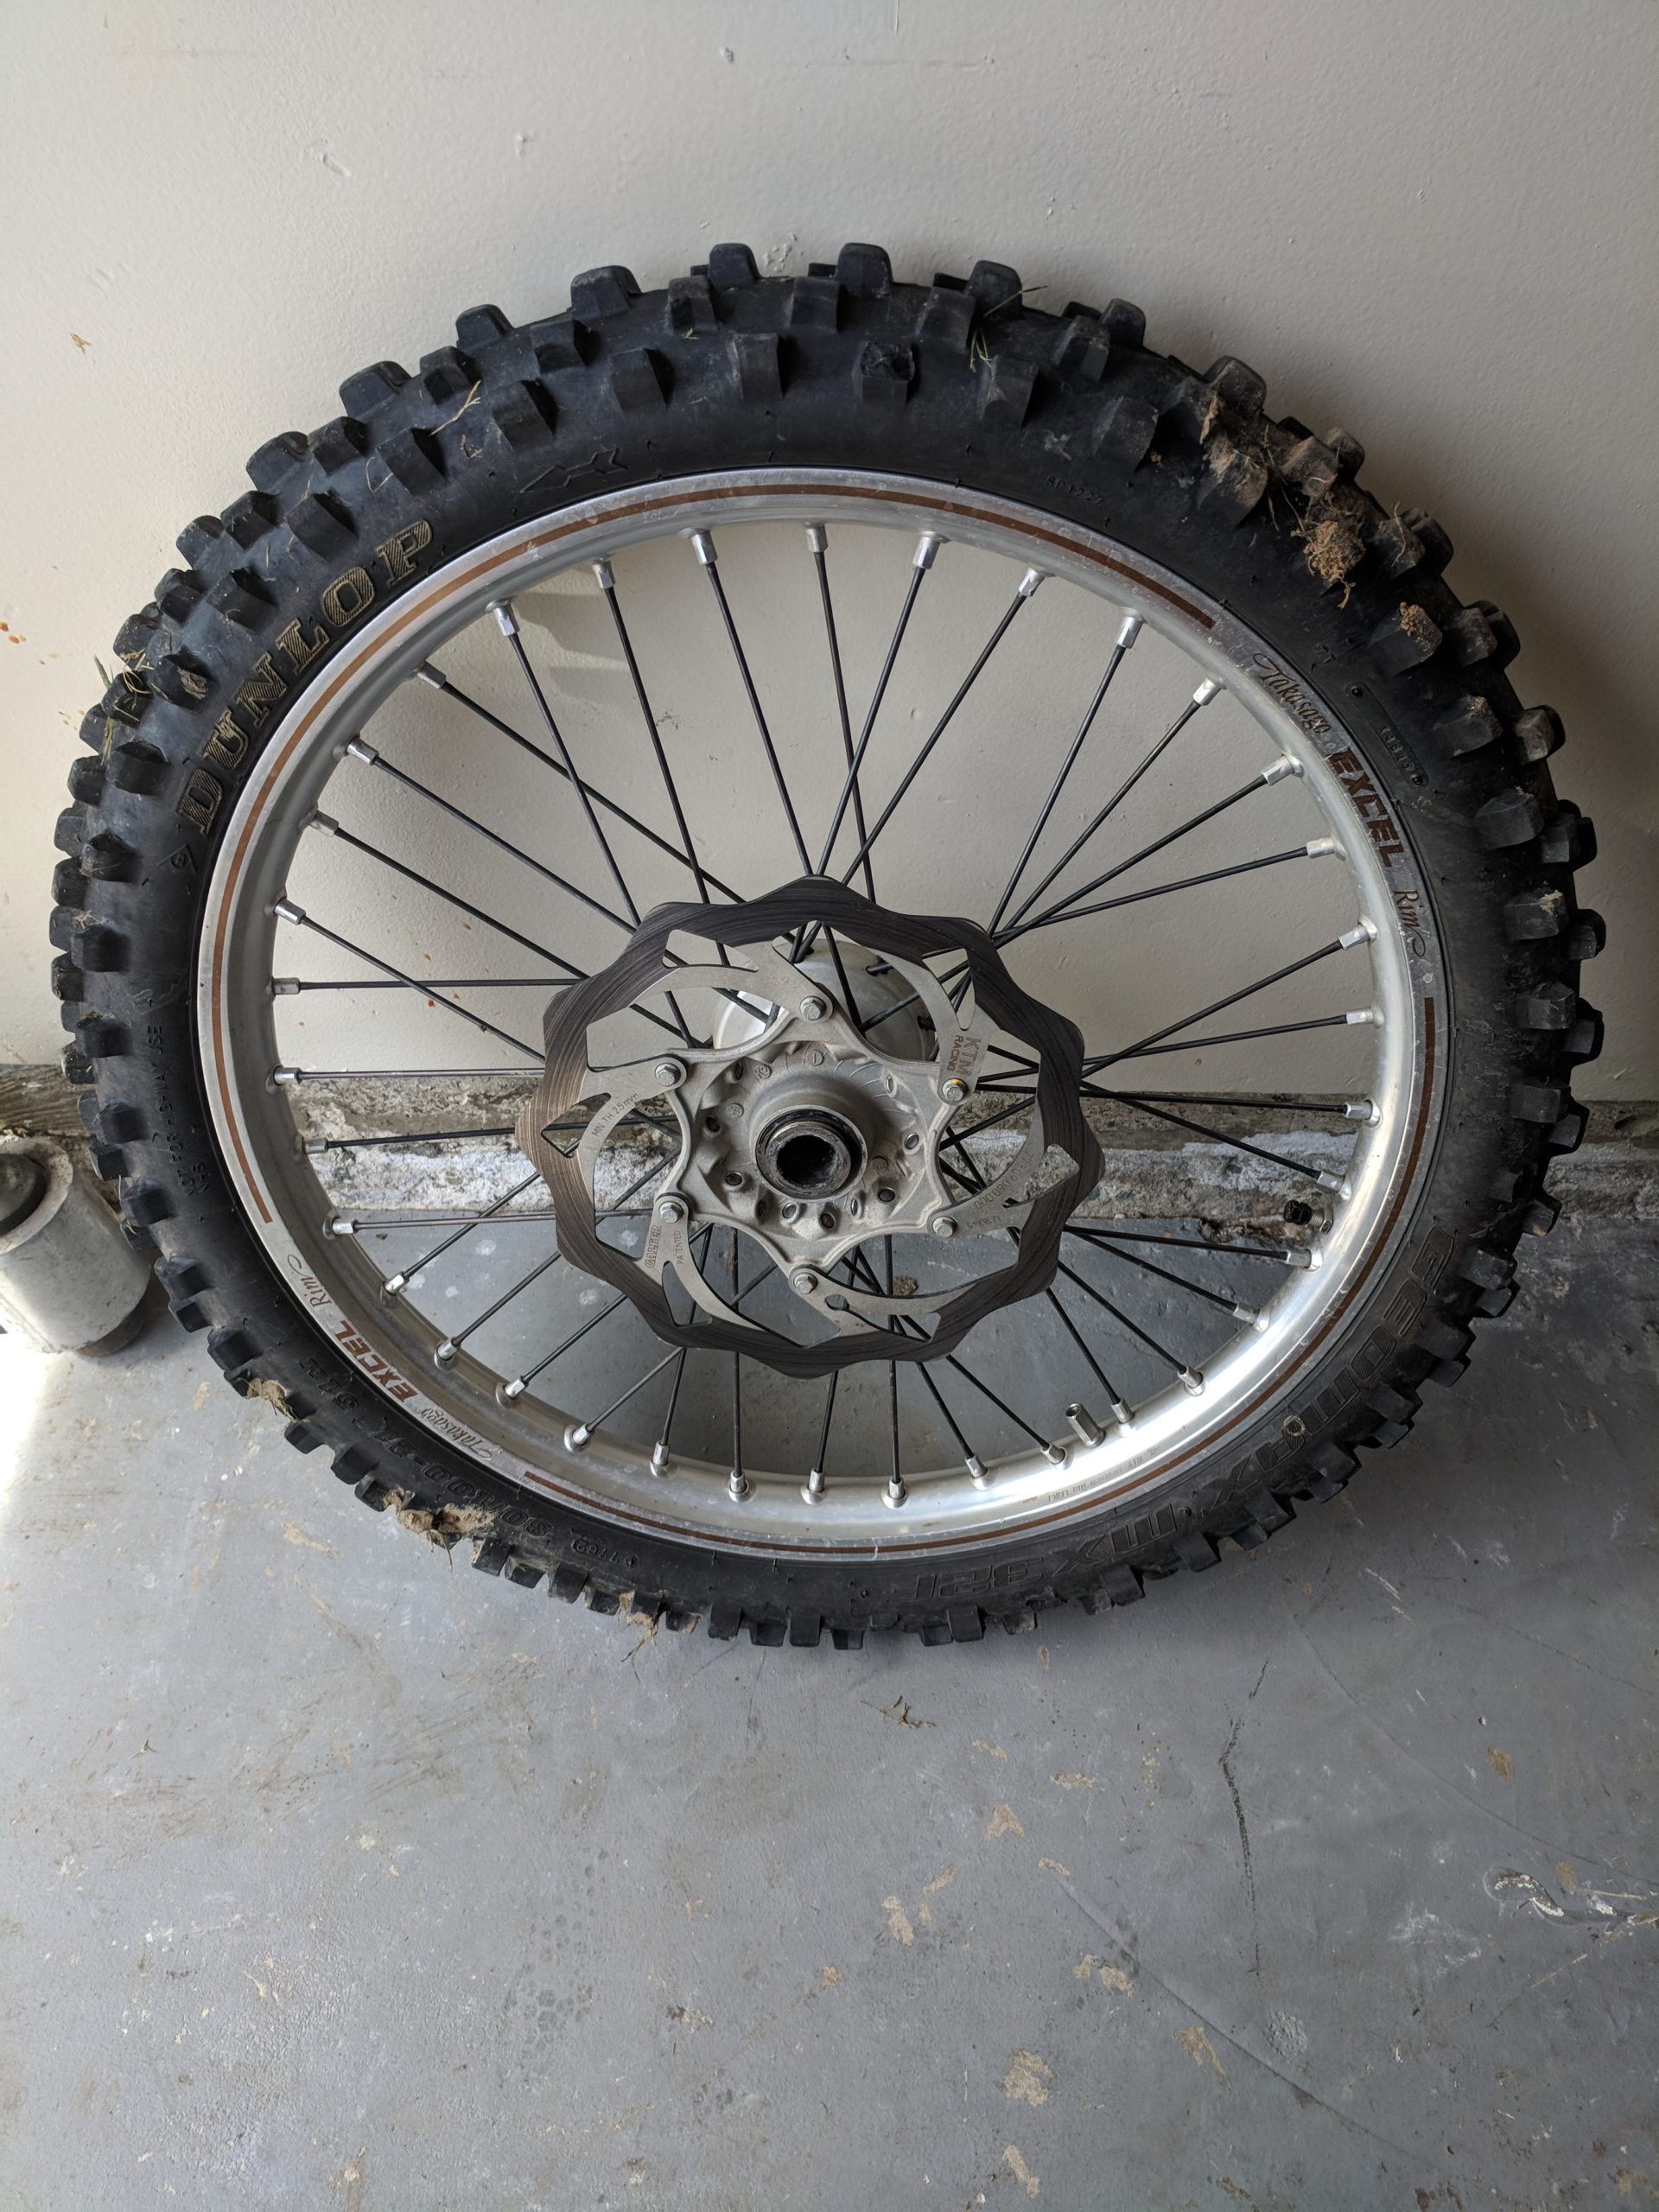
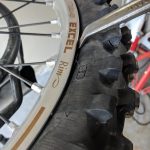
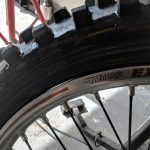
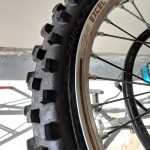
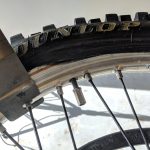
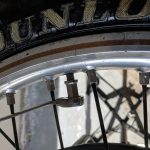
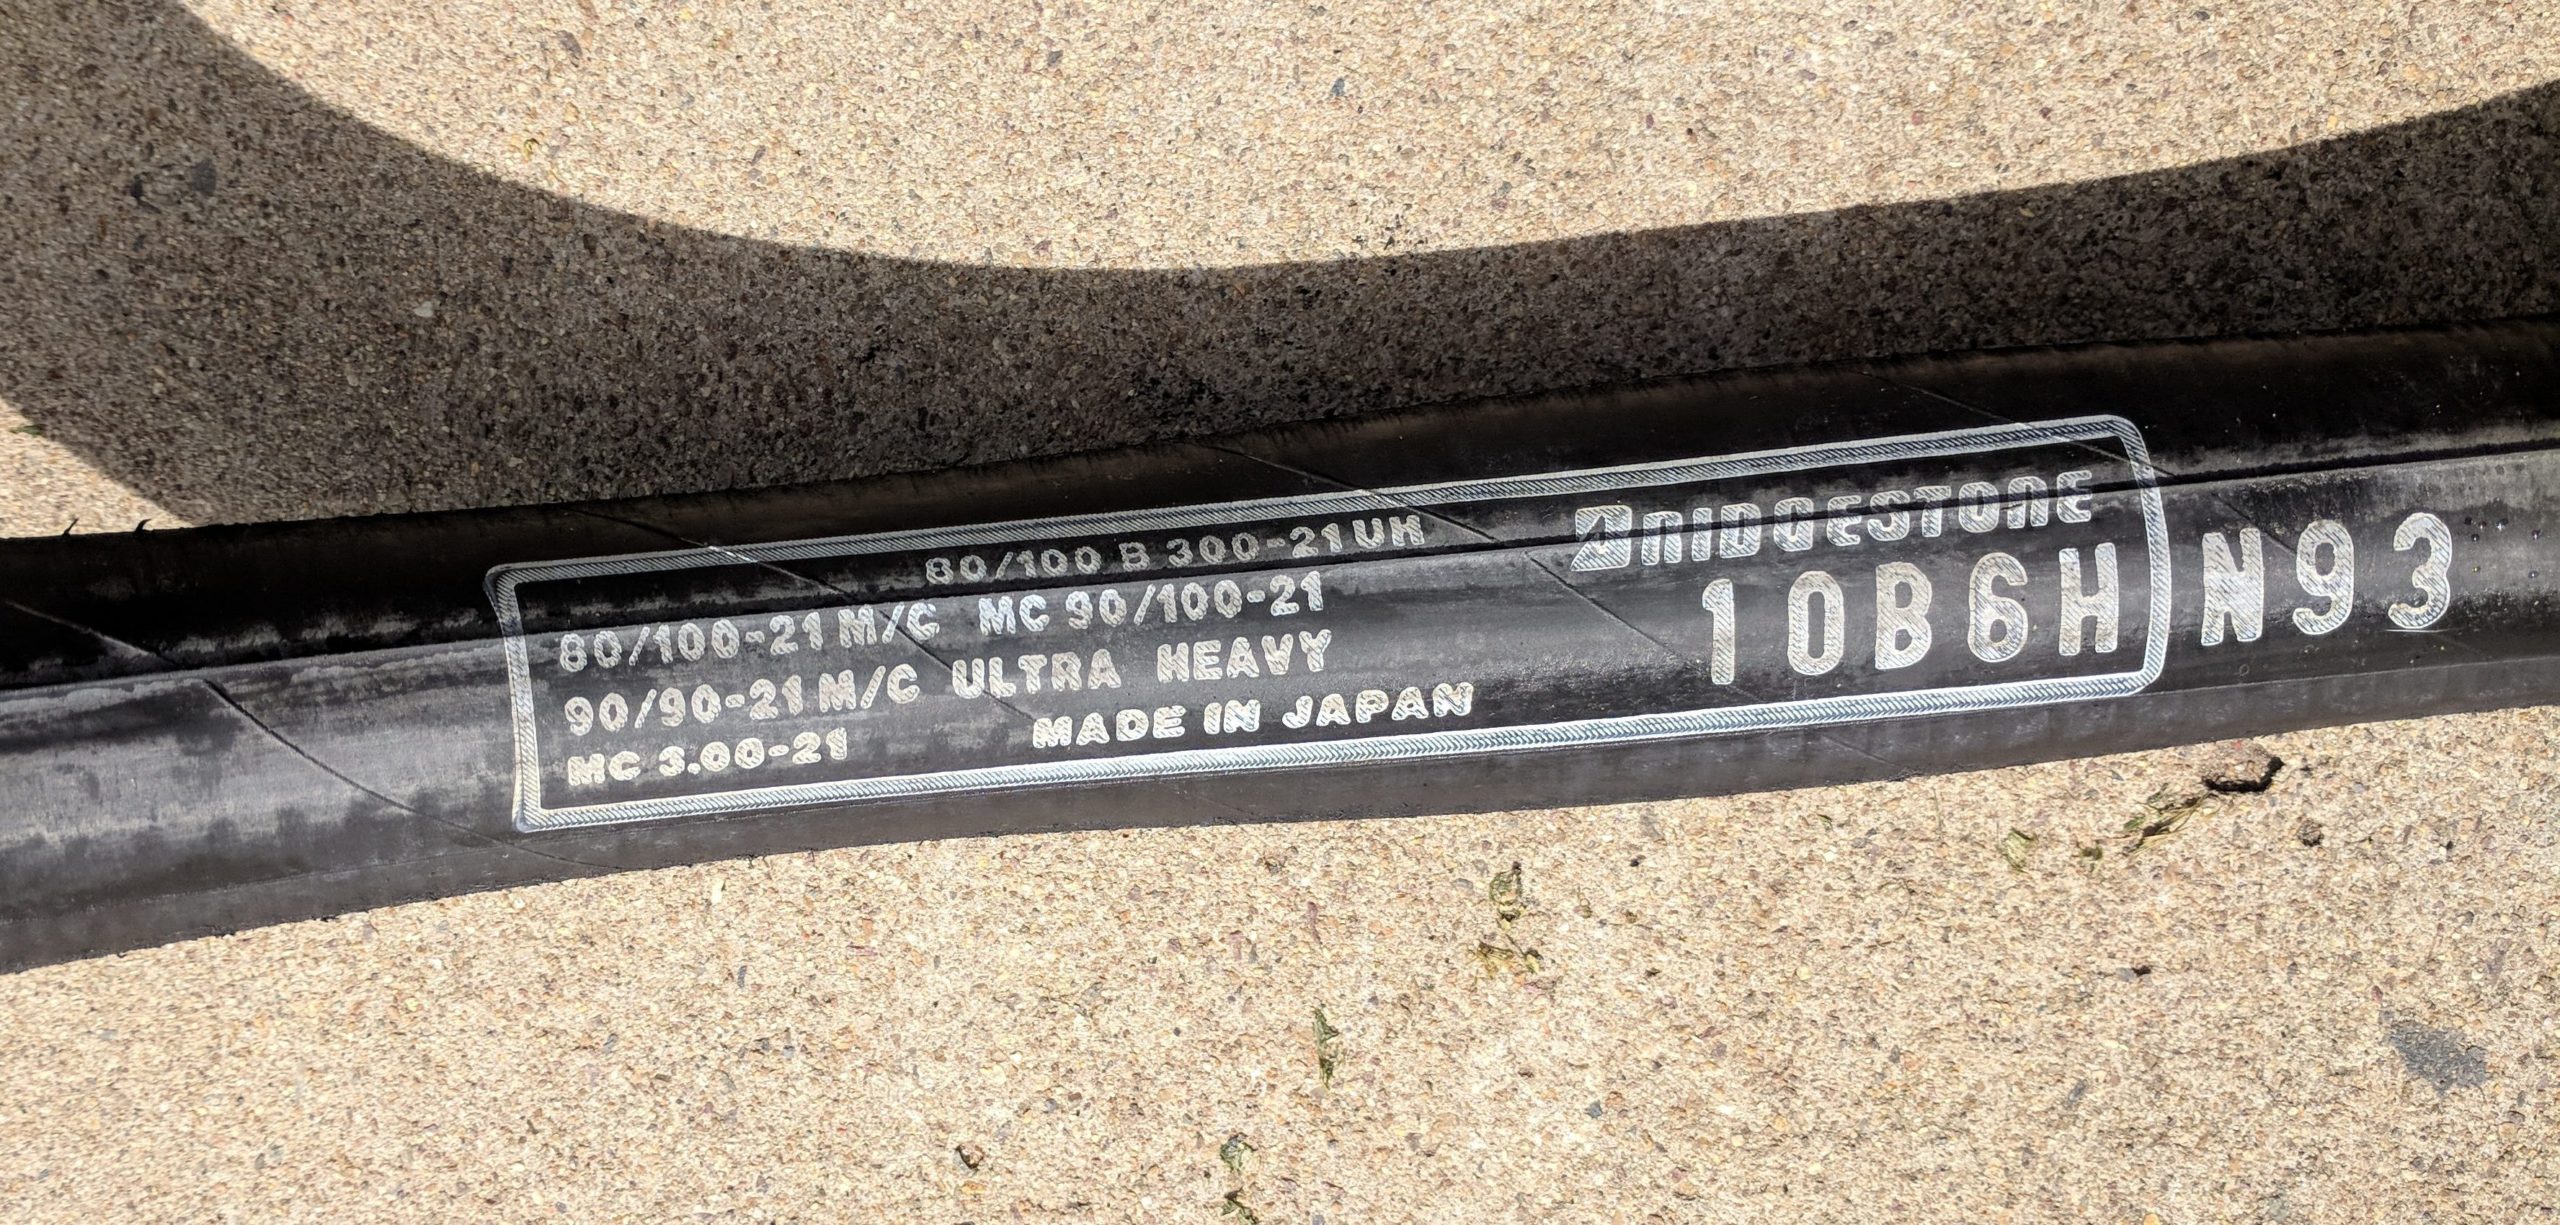 The tire I’m swapping out and putting on are both Dunlop Geomax MX32 front tires. I had and extra set laying around that only had a couple of races on them. I’m also reusing my Bridgestone Ultra Heavy Duty Motorcycle Tube.
Some other items are Rim Strip Tape, Baby powder, and tire mounting lube. I ended up using some tire black spray for mounting lube in a pinch, but you can get mounting lube specific for using on tires and also window cleaner can also be used, although it evaporates quick and can dry up on you sometimes.
Rim Tape
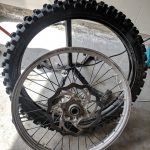
Unmounting wheel
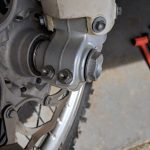
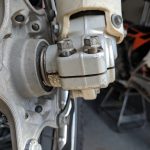
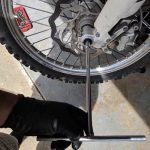
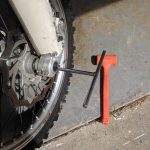
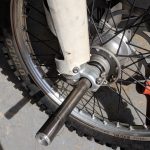
The first step to change a dirt bike tire is to unmount it. To unmount the front wheel, put your bike on a stand or a motorcycle lift to lift the front wheel off the ground. Remove the axle nut, and then loosen the 4 axle pinch bolts. To remove the axle, you can use a T-wrench or a ratchet extension to push the axle through the fork lugs.
-

- Dirt bike lift
-
- Axle nut
-
- Fork pinch bolts
-
- T-Wrench
-
- Pushing axle through forks
-
- Front Axle
Disconnecting inner tube and rim lock
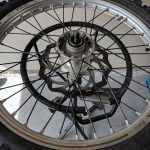
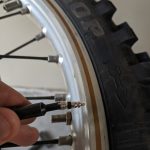
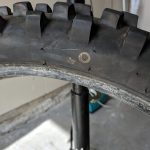
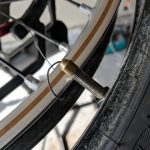
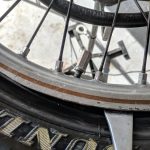
After setting up the wheel on a tire stand, you will need to deflate the tire and disconnect the inner tube and rim lock. Use the valve core tool to pull out the valve core and keep it out for the rest of the unmounting. Taking out the core lets the inner tube compress completely. If you just deflate the tire by pressing on the valve, the inner tube will still contain some air and will make unmounting the tire harder. After taking out the core, remove the valve stem nut. For the rim lock, you just need to back the nut off but you don’t need to remove it. After loosening it, press down on the rim lock to make sure it moves freely.
-
- Tire stand
-
- Valve core removal tool

-
- Remove valve core
-
- Remove valve stem nut
-
- Loosen rim lock nut
-
- Press in to check free movement
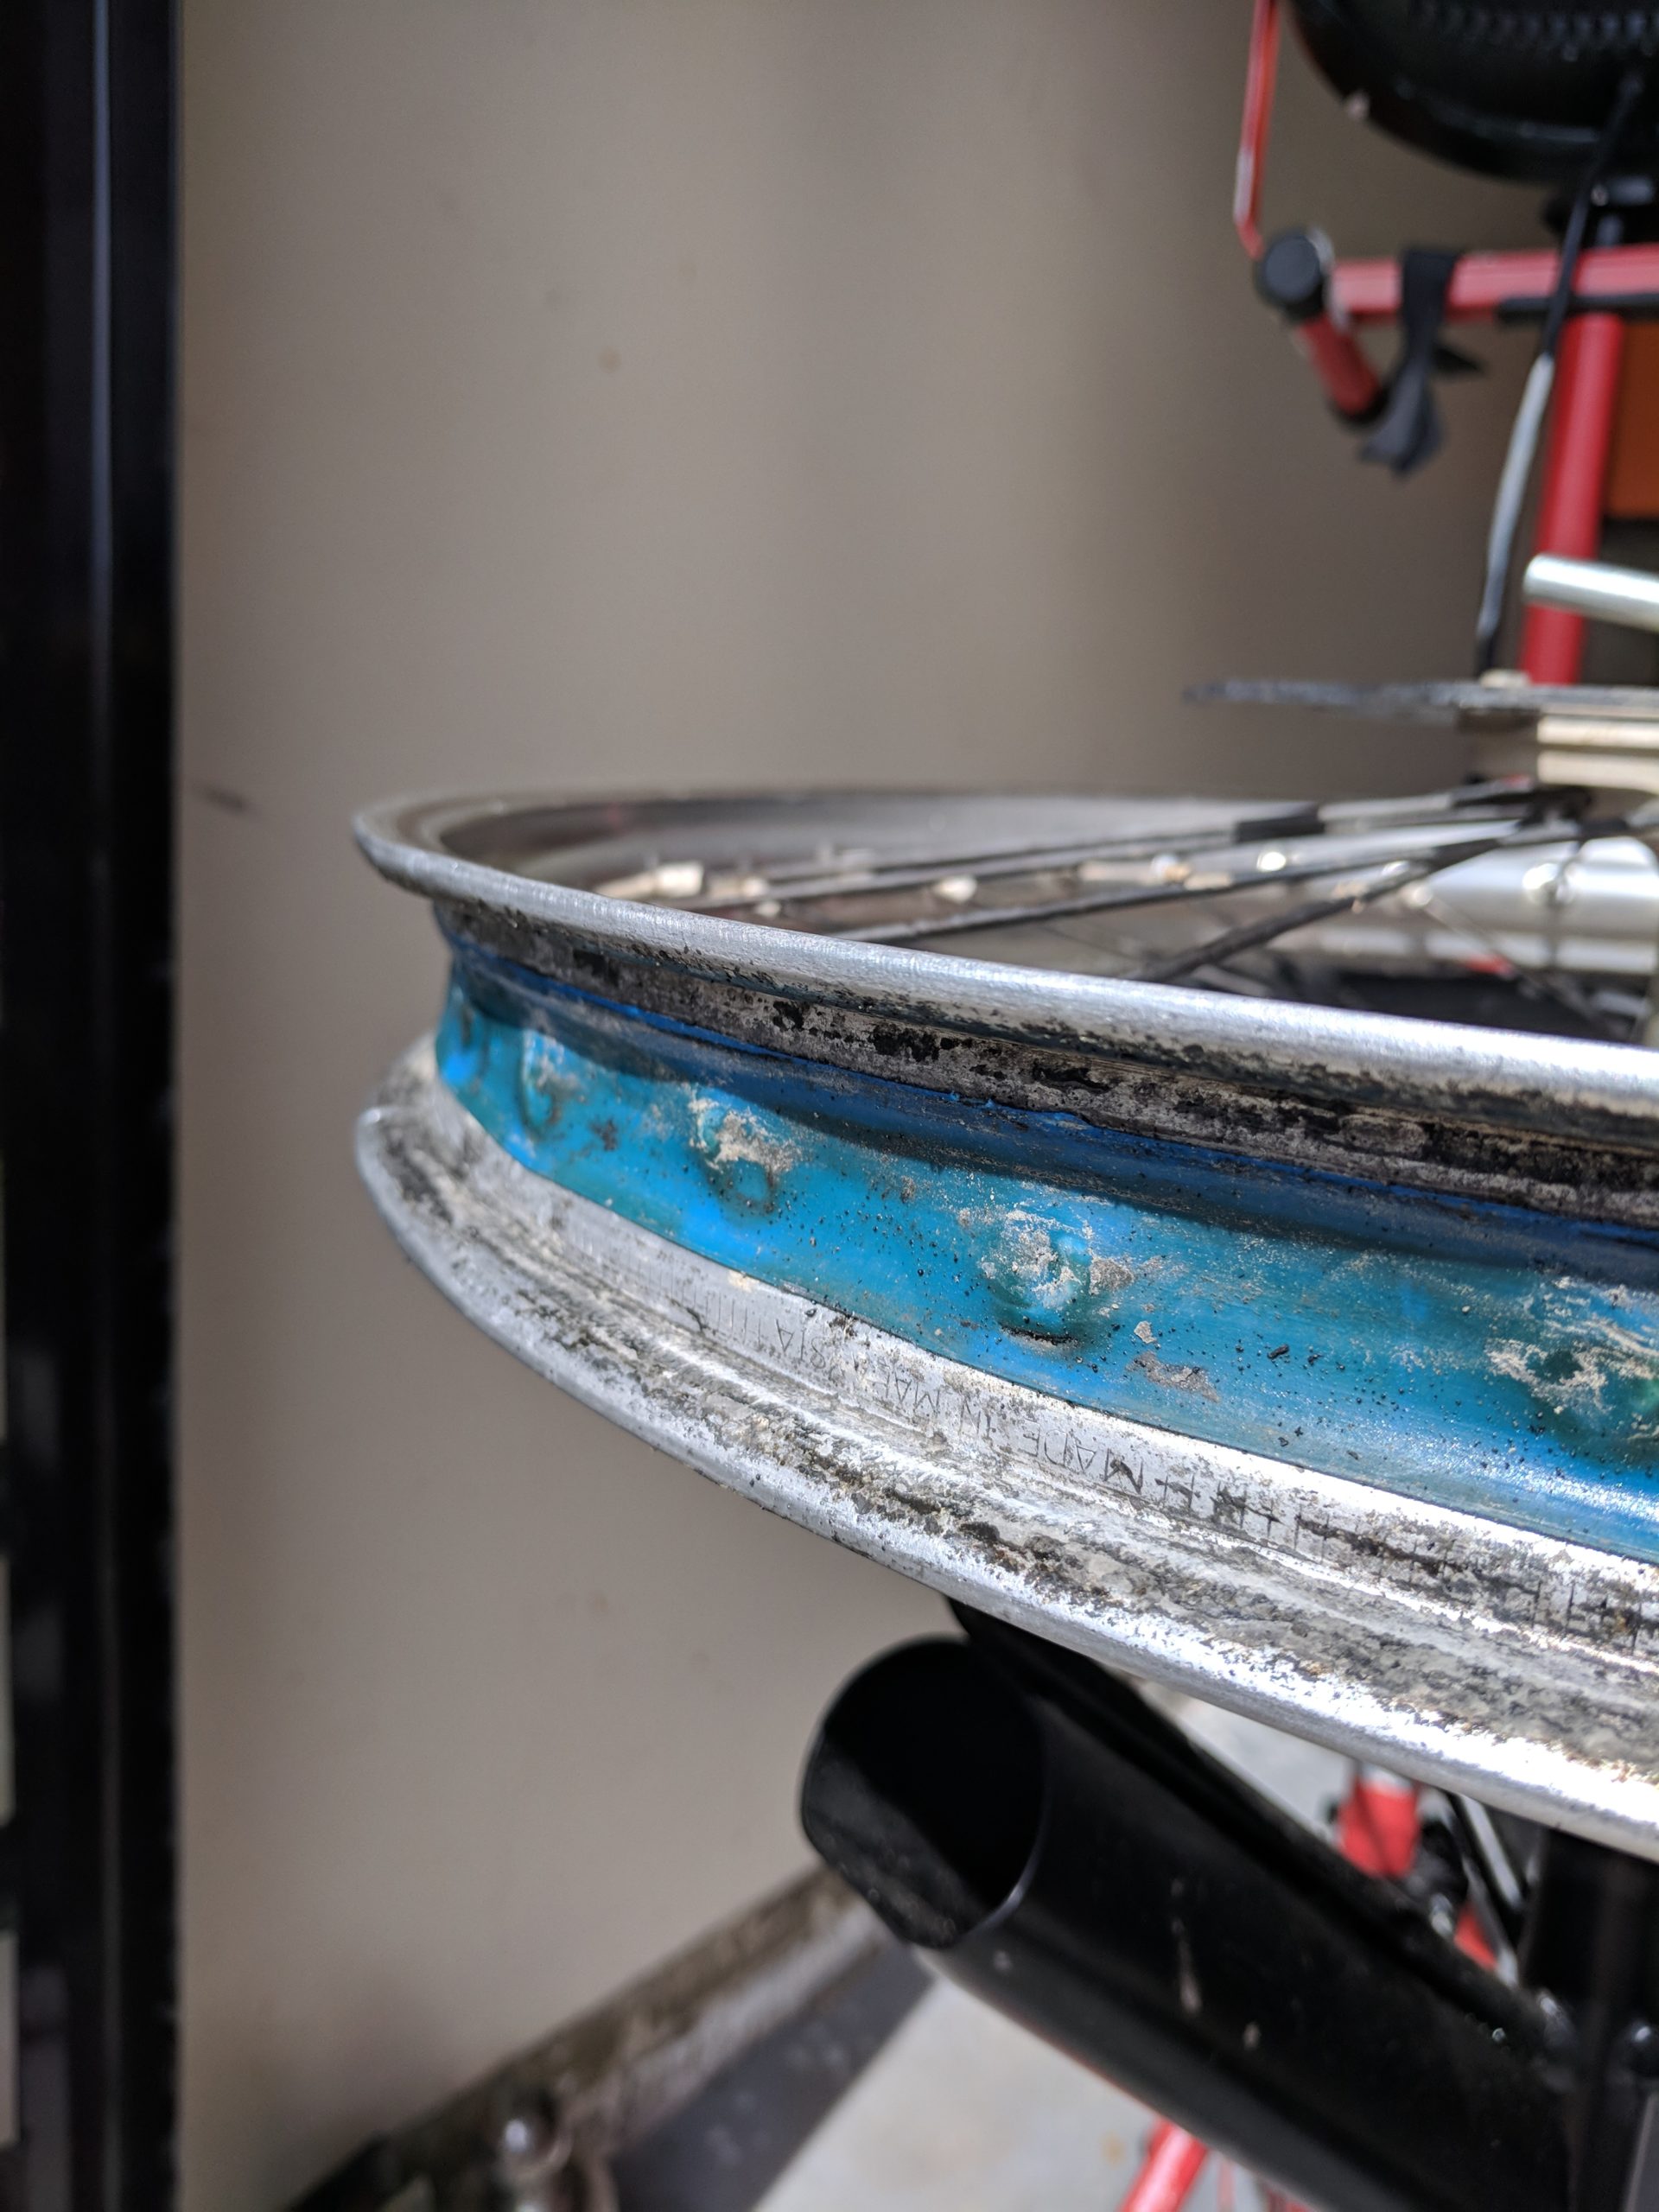
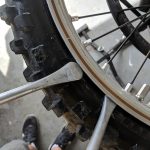
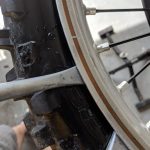
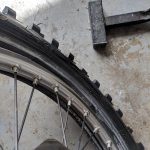
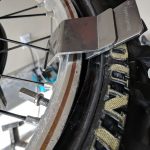
Breaking the tire bead from the rim
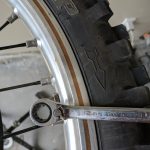
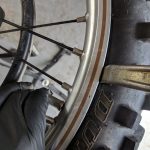
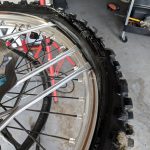
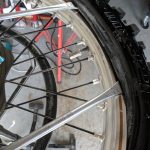
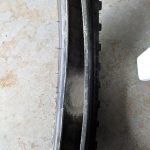
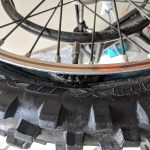
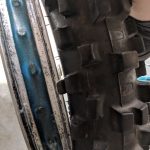
Now you are prepared to unmount the tire. The first step is to pop the tire off its bead. What you are trying to do is to drop the bead of the tire into the center of the rim. The rim is U shaped and by dropping the bead into the center, it lets the tire move so you will have a little more room to pull the bead over to the outside of the wheel. Start by loosening the tire near the rim lock. Hold down the rim lock so the tire can drop behind it. You can spray the tire with some tire lube if it’s sticking.
-
- Tire iron on wheel
-
- Holding rim lock so tire can drop behind it
-
- Dropping tire bead into center of wheel
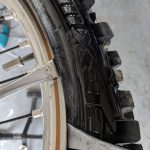
Lifting tire over the rim
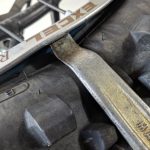
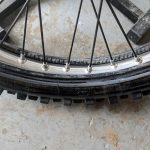
This is the toughest part to change a dirt bike tire. Use plenty of tire lube and take your time and work on small sections at a time. Spray the tire and rim with plenty of tire lube and start at the section of the tire at the rim lock. Insert the tire irons about 4 inches apart from each other and work a small section at a time. Getting the first section of the tire over is the hardest part, but once you get it going, the rest of the tire will slide right over.
-
- Insert tire iron cup down
-
- Slip between wheel and rim
-
- Push tire iron in past the lip of the bead
-
- Use 3 tire irons to start
-
- Pull small sections at a time
-
- First 3 tire irons over
-
- Remove middle iron
-
- Move to next section

-
- Work bead around the whole rim
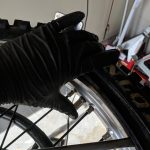
Pull wheel through the tire
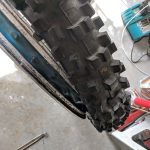
With one side off, flip the tire over and repeat. You want to pull both sides of the tire to the outside of the wheel. When both sides of the tire on the outside of the wheel, push the wheel down into the tire and pull the wheel through the middle of the tire.
-
- Push wheel into tire
-
- Wheel in tire
-
- Top of tire clearance
-
- Pull wheel through center of tire
-
- Tire removed
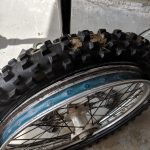
Inspect inner tube, rim tape, and rim lock
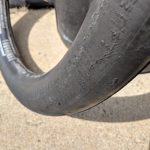
Check to make sure the rim tape is in good shape and hasn’t broken in any spots, dirt, and dust can get in the tire and acts like sandpaper on the inner tube when riding. With standard tubes, it’s a good idea to replace the inner tube at each tire change. With extra heavy duty inner tubes, you can get a couple of tire changes out of them before they wear thin. I run Bridgestone heavy duty inner tubes and will usually go 3-4 tire changes before replacing them. Inner tubes wear just like tires and start to ball up and thin out after so many hours.
-
- Inner tube wear
-
- Rim Tape
-
- Rim Lock
Inner tube and tire prep
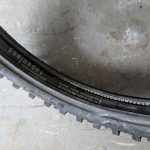
Clean off the inner tube and make sure the tire is free from sand or other debris. If you are mounting a new tire or re-using an old one, one tip is put a little bit of baby powder into the tire before adding the inner tube. The baby powder will act as a dry lubricant between the tire and inner tube and will help with rubbing and friction wearing the inner tube thin. Add a small amount the tire and rotate the tire around to spread it out. Also, you will notice on tires there will be a mark, a yellow circle in this case. This marks the light side of the tire. You should put this marker near the valve stem and rim lock.
-
- Baby powder before inner tube
-
- Marker for light spot to put valve stem near
-
- Inner tube inserted before mounting
Setting the inner tube on wheel
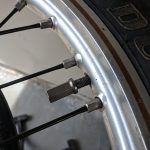
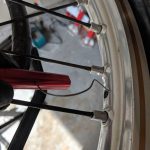
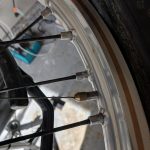
Depending on the size of your wheel, you might need to use a valve stem puller to get the valve stem through the hole in the rim. The tool is fairly cheap and will save you some scraped up hands. Once the valve stem is pulled through, tighten the valve stem nut to hold the tube in place. After that, re-insert the valve stem core.
-
- Valve stem puller inserted through rim
-
- Valve stem puller end
-
- Screw into valve core threads
-
- Pull through rim
-
- Tighten nut and re-insert valve core
Setting tire on the wheel
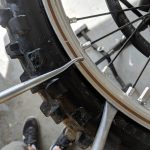
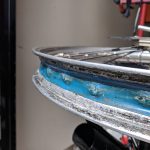
Mounting the tire is a little different then unmounting when you change a dirt bike tire. You can get half the tire on using the 2 long curved tire irons. You’re going to want to set the tire bead between the rim lock and the rim. This allows the tire bead to sit in the lower drop center which helps the tire to be pulled over. You can work most of the tire onto the wheel using a tire stand, but the last section I find easier with the tire on the ground and using your knee to hold the tire in place. Reach through with the curved end of the tire iron and lift the last section over the rim.
-
- Drop the rim on half the tire
-
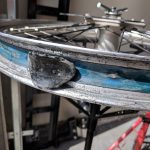
- Make sure the rim lock is NOT outside like this
-
- Reach through with the curved end
-
- Tire now half mounted
Mounting the rest of the tire
This is where having a bead buddy and a good set of tire irons comes in handy. Starting at the rim lock, push the tire down into the drop center of the wheel. Make sure the rim lock is out of the way and hold the tire down with the bead buddy. Work the tire around with the tire irons taking small sections at a time near the end. The last section is always the toughest so use plenty of lube and work it in small sections.
-
- Mount tire under rim lock
-
- Insert Bead Buddy to hold tire in drop center
-
- Work tire irons around in small sections

-
- Last section near rim lock
-
- Hold down rim lock as you mount last section
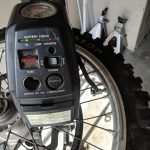
Inflate inner tube to set the bead
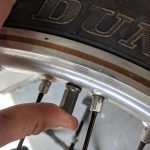
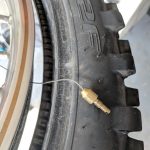
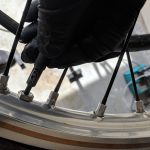
Final steps are to tighten down the valve stem inflate the inner tube to set the bead. You will have to over-inflate the tire to get the bead to “pop” on. You can run a finger around the rim edge to feel that the tire is fully seated. After the bead sets, deflate the tire to 12-15 psi and tighten the rim lock.
-
- Tighten valve stem nut

-
- Inflate tire
-
- Tighten rim lock
-
- Bead fully set

Mounting the wheel
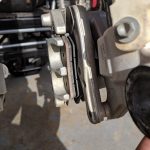
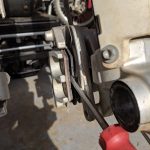
The last step to change a dirt bike tire is mounting the wheel. Pretty straight forward but with one tip. Use a flat blade screwdriver to spread the brake pads. This will help to keep the fork from spinning while you try to get the brake disk lined up.
-
- Brake pads
-
- Spread the pads with a flat blade screwdriver
-
- Pads now have some clearance

-
- All done!
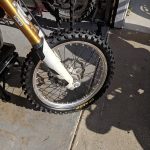
All finished!
Nice description on changing dirtbike tire.
How much was the wheel stand?
Appreciate it
About $100 depending on where you get it from.
You can get them on Amazon
https://amzn.to/33wM1w7
or through rockymountainatvmc.
https://www.rockymountainatvmc.com/parts/tusk-adjustable-height-motorcycle-tire-changing-stand-p
This was really nice write up! Thank you