Replacement steps for RV and Toy Haulers
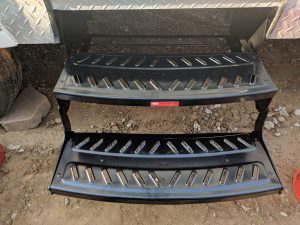 RV replacement steps are a common item to be replaced on older RVs and Toy Haulers. The fold-down mechanism tends to wear over time, and the relatively low-hanging nature of the steps can cause them the get damaged. In my case, when I bought my toy hauler, the previous owner said that he had hit a boulder or something while pulling into a spot in the desert. The steps still worked, but the frame of them was bent a little, and they were kind of clunky to pull down. Plus, they had a squeak in them every time you stepped on them, which annoyed me to no end.
I decided to buy RV replacement steps after finding they are relatively inexpensive and very easy to replace.
OEM Steps
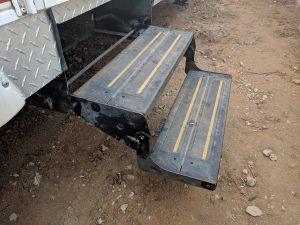
 Unless you own an Airstream, most RVs and Toy Haulers use the same accessory components. They tend to be on the cheaper end and, for the most part, work fine, but don’t tend to last very long.
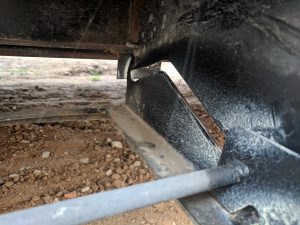
The ones included on my Toy Hauler had a metal track that a pin from the steps ran along. Ten years of use and some damage caused the track to rust a little, and catch the stairs are I tried to put them up or down.
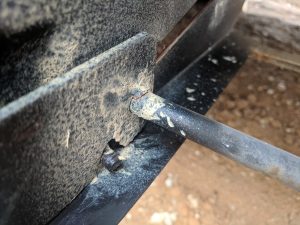 The bottom step folds up, and the bottom extension of the steps rides as a pin along the groove in the frame. Like I mentioned before, the stairs were damaged and were hard to extend and fold away. Another problem was the constant squeaking of the steps whenever I walked on them. I found out that the weld on the stair pin had cracked. No matter how much lube I put on it, the stairs still made and noise. After looking at how much a replacement costs on Amazon, I decided to replace the steps.
RV Replacement Steps Width
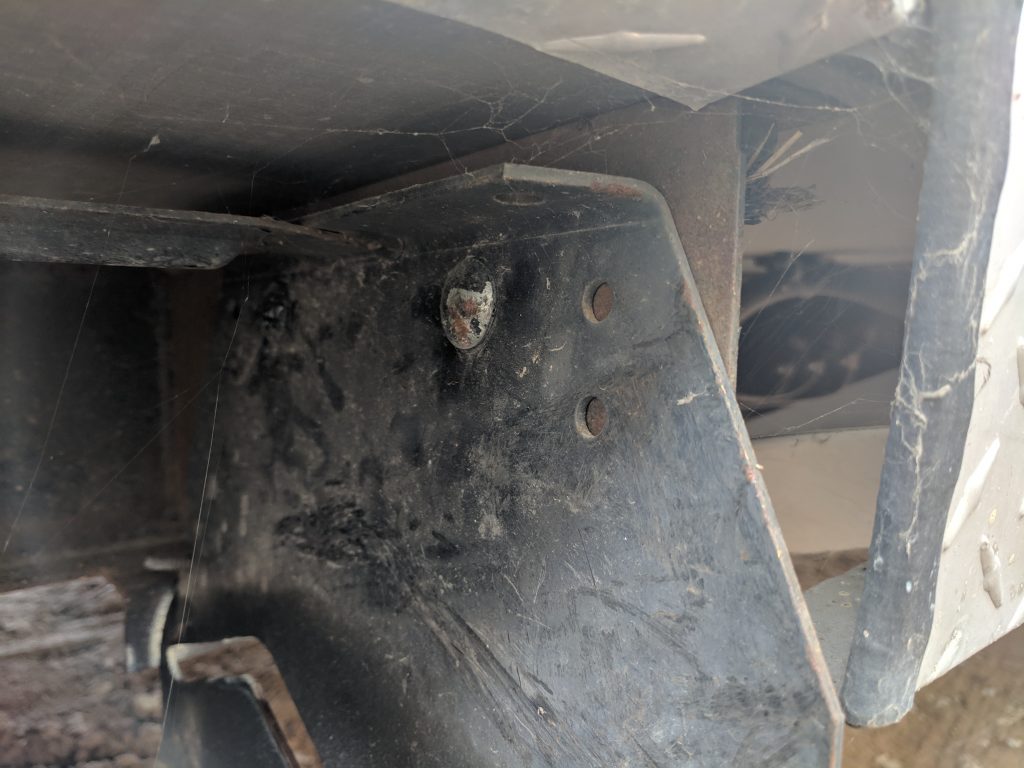
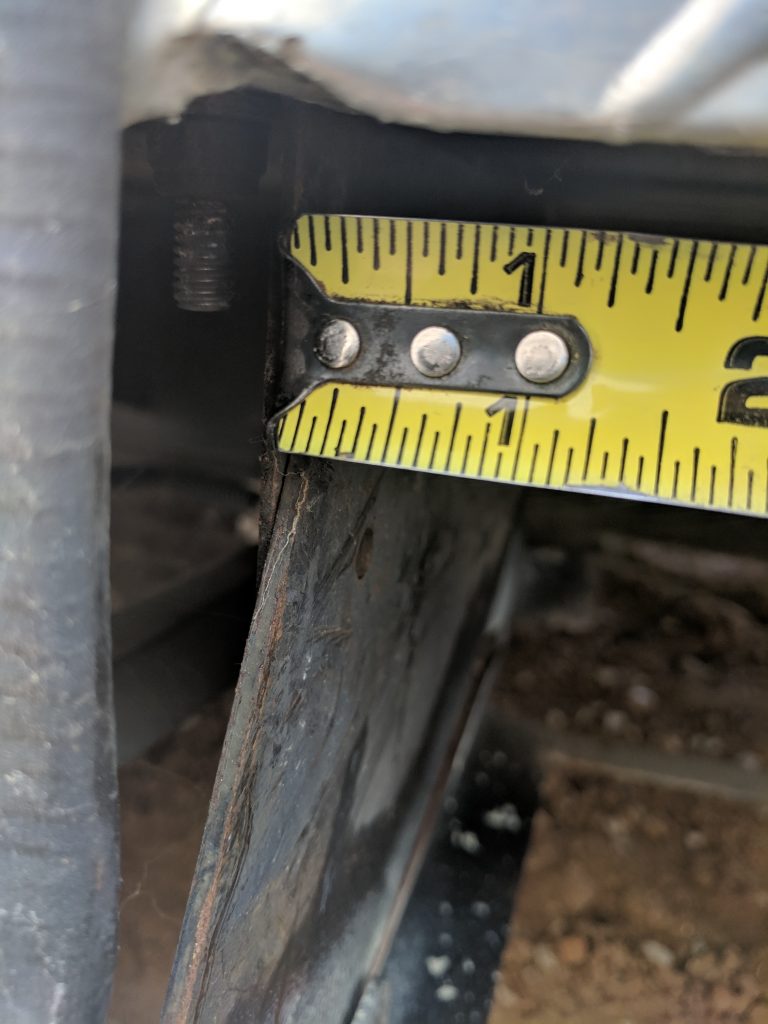
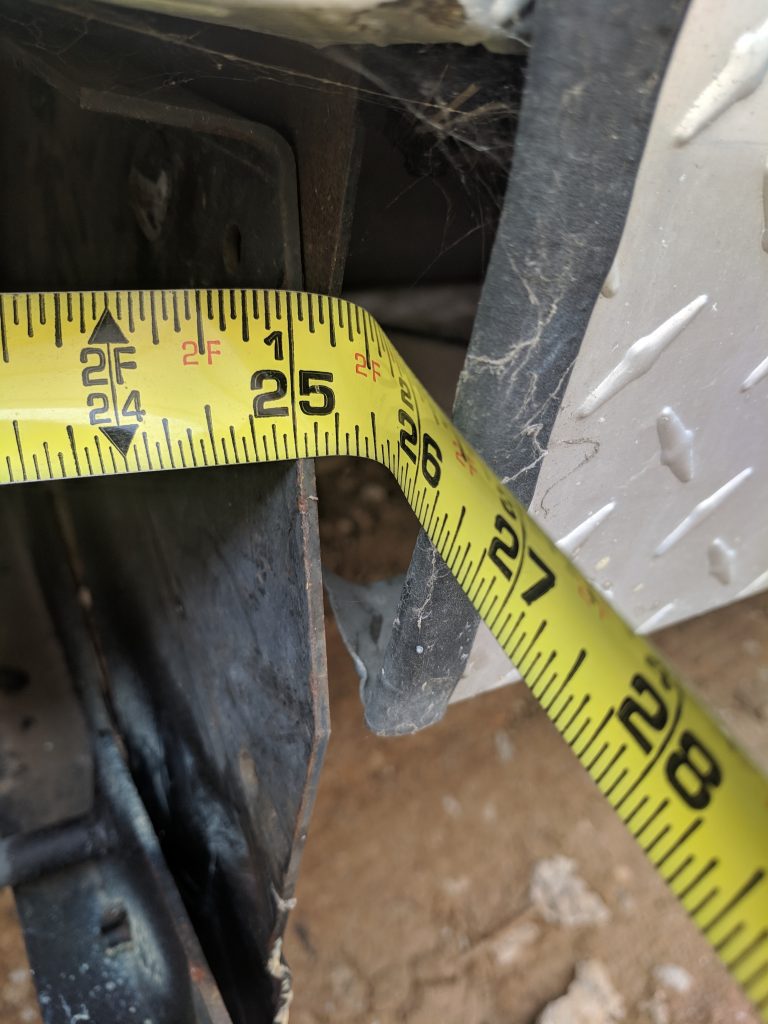
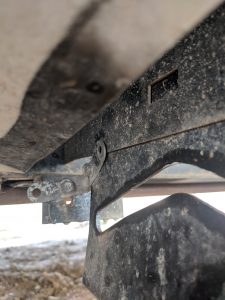
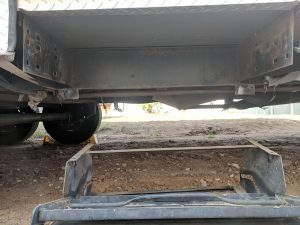
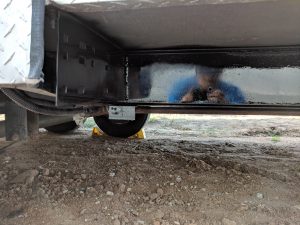
There is only one measurement that you need to take for ordering RV replacement steps, and that is the width of the step frame. On RVs and Toy Haulers, the steps are bolted to a bracket that hangs down from the frame. You need to measure the inside width of this bracket. On my Toy Hauler, the inside the bracket measurement was 25 1/4 inches. There are different-width steps, so make sure you measure the size of the bracket. I wanted to go from a 2-step to a 3-step RV replacement step, but the 3-step replacements are too wide for the bracket on my trailer.
- Stair Bracket
- Measure the inside
- 25 1/4 inch inside width
RV Replacement Steps Removal
To remove the steps, there are two bolts on each side. On mine, there was also a bracket in the back that was added for stability. To remove the steps, remove the four bolts and two screws. The steps will slide out as one complete unit.
Bolt Hole Measurement
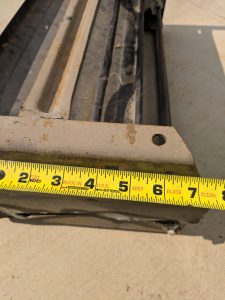 With the old steps removed, the other measurement that you need is the distance between the mounting holes. The holes that are used the mount the steps are the square holes. On the side of the steps, they measure 4 1/2 inches from center to center.
New RV Steps
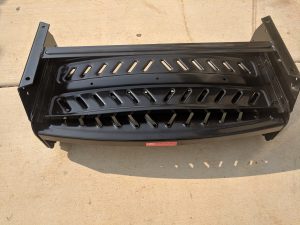
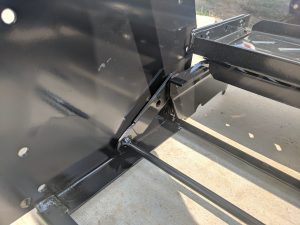
The new steps that I ordered had the same two steps as the ones I was replacing. It was made by a different company and the sliding mechanism of the old one was replaced by a hinge on the new one. This made for smoother action, pulling it out, and didn’t seem like it would be able to bind up as much from dirt.
Installation
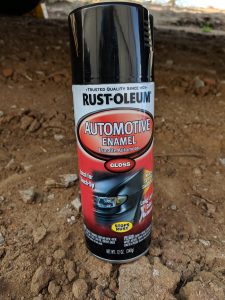
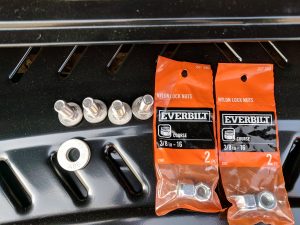
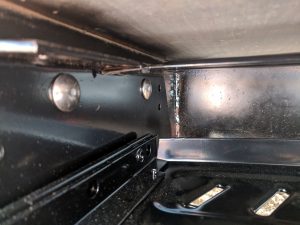
Before installing the new steps, I painted the bracket with some Rustoleum while I had the stairs out. You don’t need to do this, but it was an extra step that I did while I had access. Another thing I got was new hardware for mounting the steps. I could have reused the old hardware, but for only a couple of dollars, I replaced it.
After letting the paint dry, the steps bolted right up!

Leave a Reply