• Home
  • Tech Tips
    • GoPro Hero Broken Lens Replacement
    • Dirt bike tire change – Step by step guide
    • Best Way to Restore Exterior Black Plastic Trim
  • Tools
    • Dirt Bike tire changing tools MUST HAVES
    • Rhino Ramps Vehicle Ramps – Truck Ramps
    • Sag Setting Tool For Dirt Bike Suspension
  • Reviews
    • Cat Diesel Power Trucker Hat – Smokey and the Bandit
    • Ogio Dakar 3L Hydration Pack Review
    • AC Pro Review – 2001 Toyota 4Runner
    • American Outlaw Wheels Review CRACKED WHEEL
  • Dirt Bikes
    • Tusk Billet Race Foot Pegs Review
    • KTM 250 SX-F Spark Plug Replacement NGK LMAR9AI-8
    • GPI Racing Radiator review – 2014 KTM 250 SX-F
    • Pro Taper Handlebars vs Renthal Fat Bars – KTM 450
    • Aluminum Throttle Tube With Bearing-KTM 450
  • Street Bikes
    • WPS Featherweight Lithium Battery Review – KTM 990 SuperDuke
    • NGK Iridium Spark Plugs Ducati Monster 696
    • Ducati Monster Oil Change
  • Toy Hauler / RV
    • Fuel Station Nozzle Leak Repair for Toy Haulers and RVs
    • RV Replacement Steps
    • RV Air Conditioner Not Blowing Cold Fix
  • Trucks
    • Rear differential fluid change – 2008 Toyota Tundra
    • Tundra 5.7 Oil Change Liqui Moly
    • Husky Liners Toyota Tundra Review
    • Toyota 4Runner Oil Change QUICK REFERENCE
    • AMP Research Powerstep Warranty Long Term Review
    • Toyota Tundra Fender Liner Kit

Horsepower Hub

Sag Setting Tool For Dirt Bike Suspension

in Dirt Bikes, Tools on 06/12/18

Sag Setting Tool for dirt bike suspension

Setting the race sag is always shown as a two-man job unless you had an aftermarket sag setting tool.   Also since I’m at the track alone most the time, I always found it to be a pain when I try to do it myself.  I looked around online and thought most of the digital sag setting tools were a little pricey.  I came up with a cheap sag setting tool and an easy way for me to set it by myself.

Making the sag setting tool from a yardstick

To make the sag setting tool, I bought a cheap aluminum yardstick, some green painters tape, and a sharpie marker.  Notch the end of the yardstick so that it will slide into the rear axle.  Give yourself about 4-5 inches so it will stay in the axle and bend the end at 90 degrees.

Sag setting tool axle notch

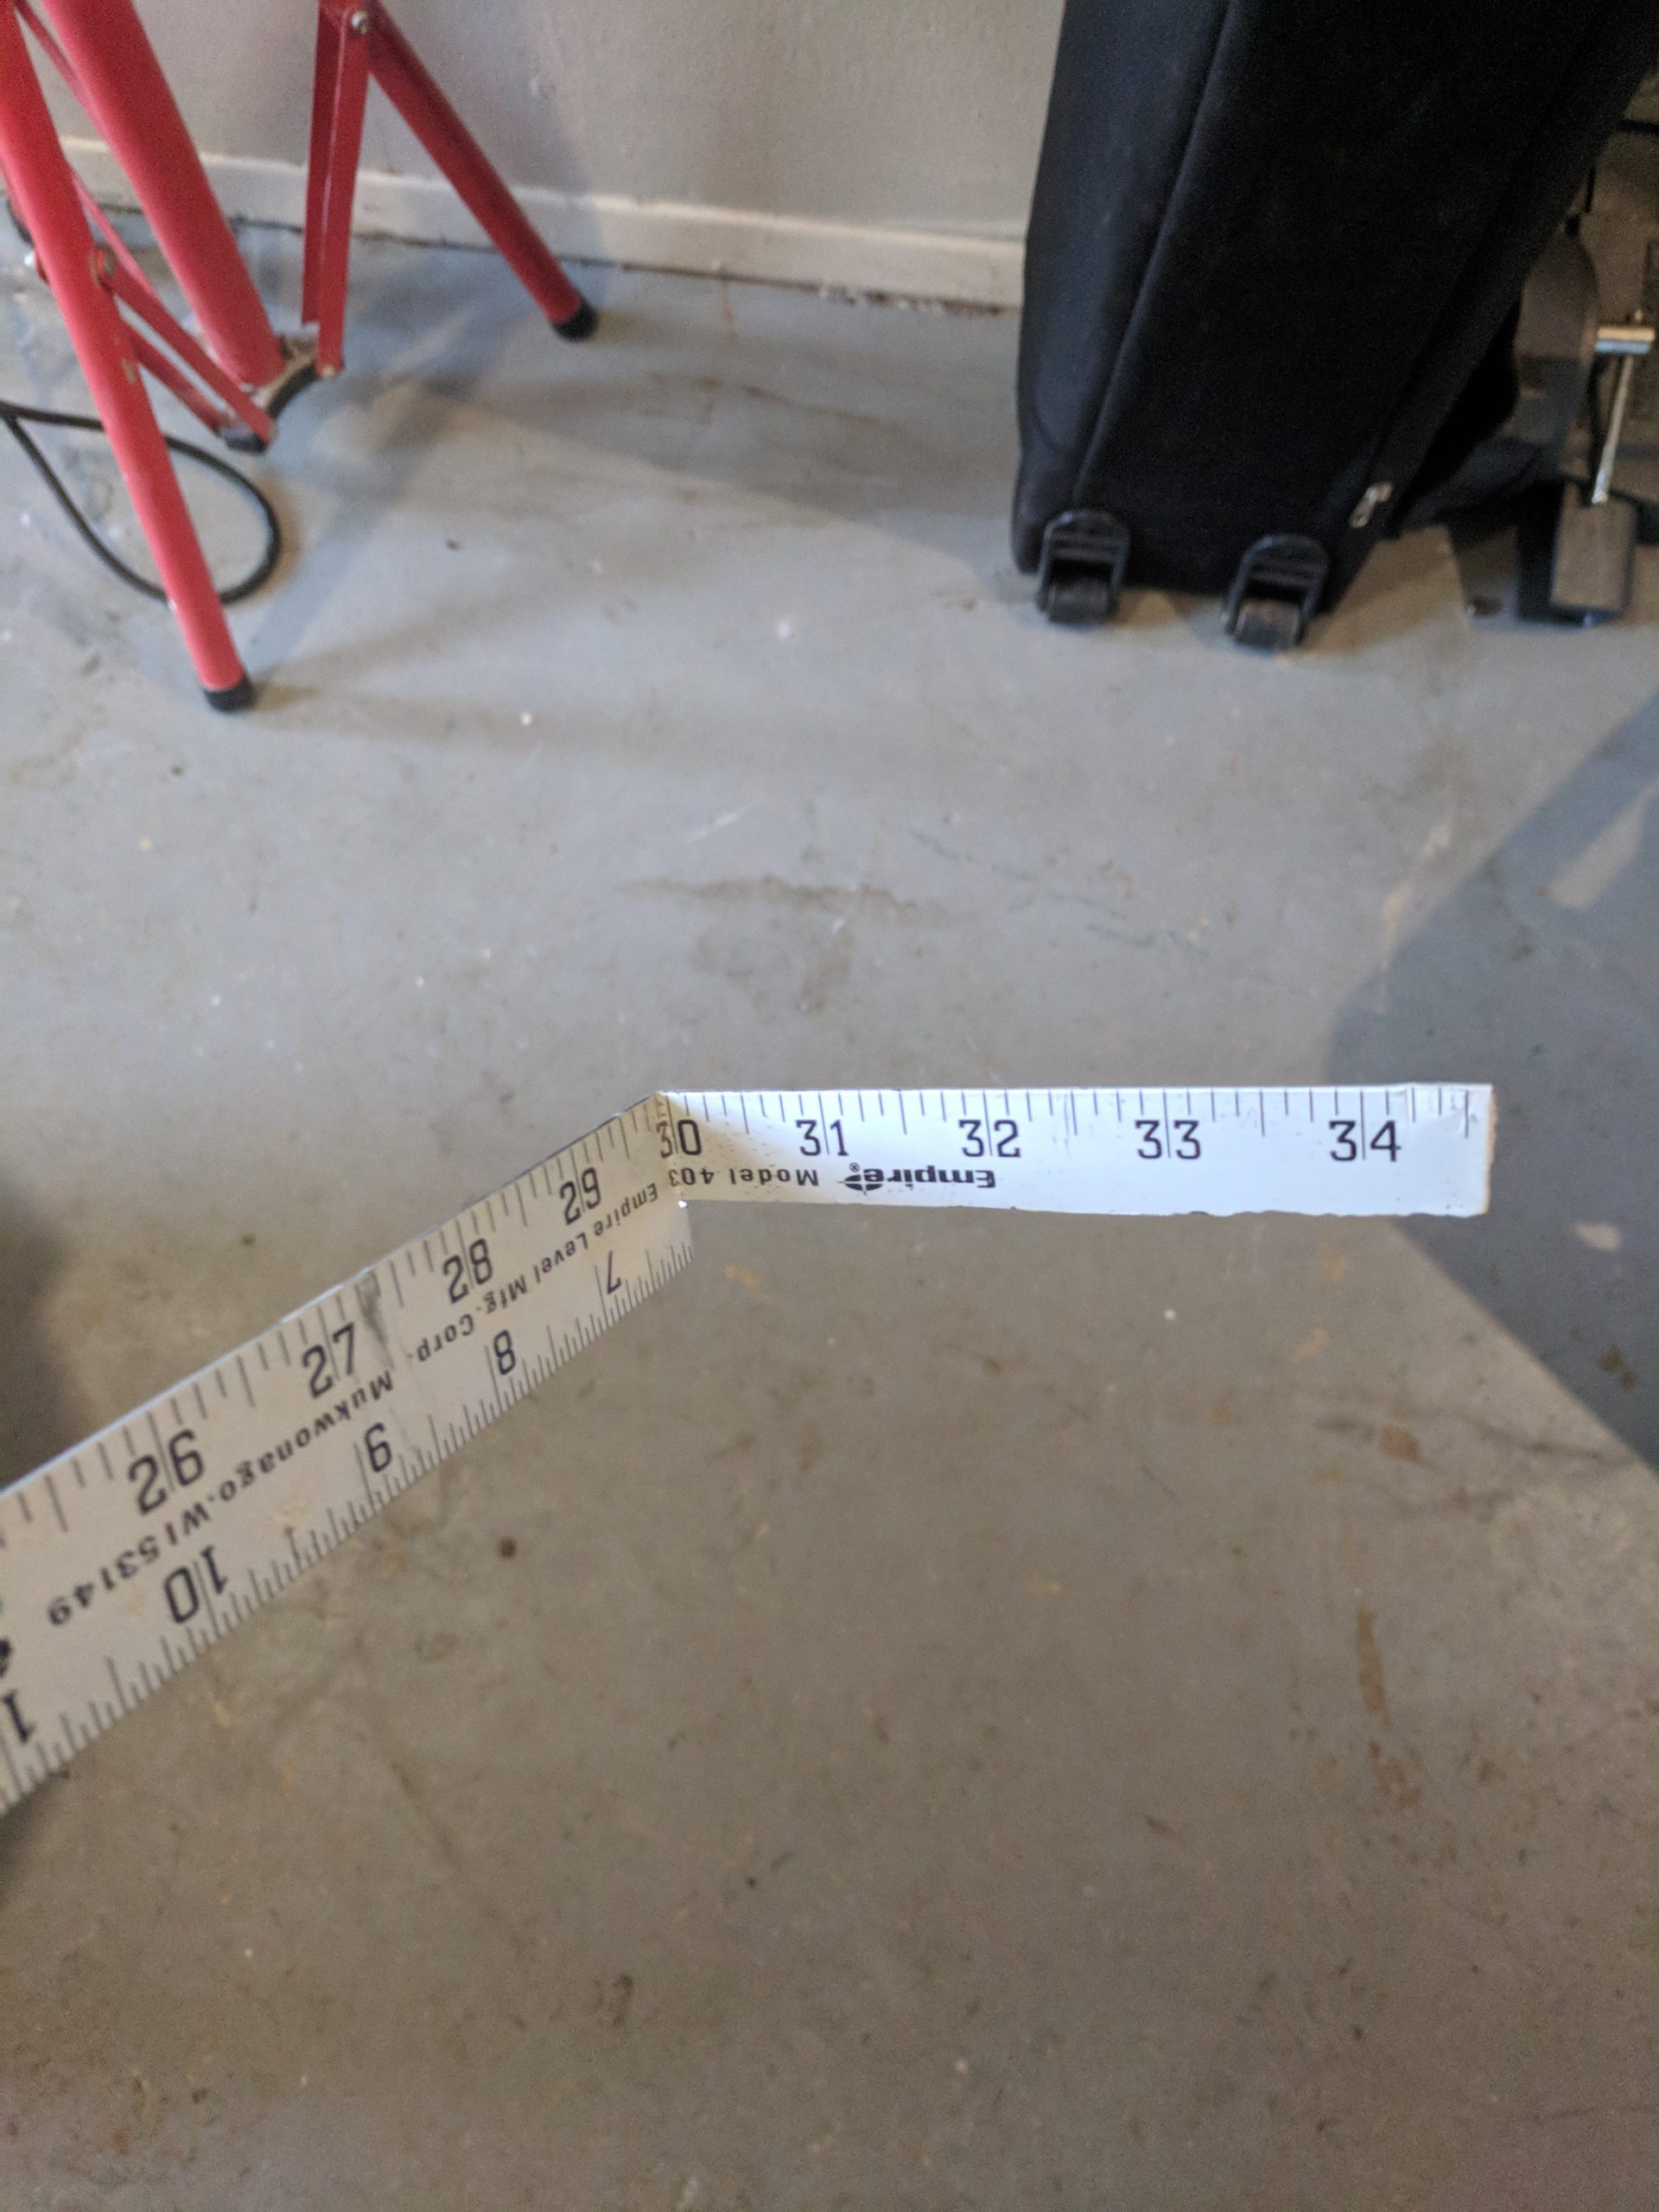
Make the notch just wide enough to fit in the hollow axle.  It should have a little room to move around, but not to lose that it will easily fall out.  Also, make sure it’s long enough to slide into the axle and have some room to move in and out.  When you are reaching around to read the marks, you want the tool to be able to move around, but not fall out.Sag setting tool in axle


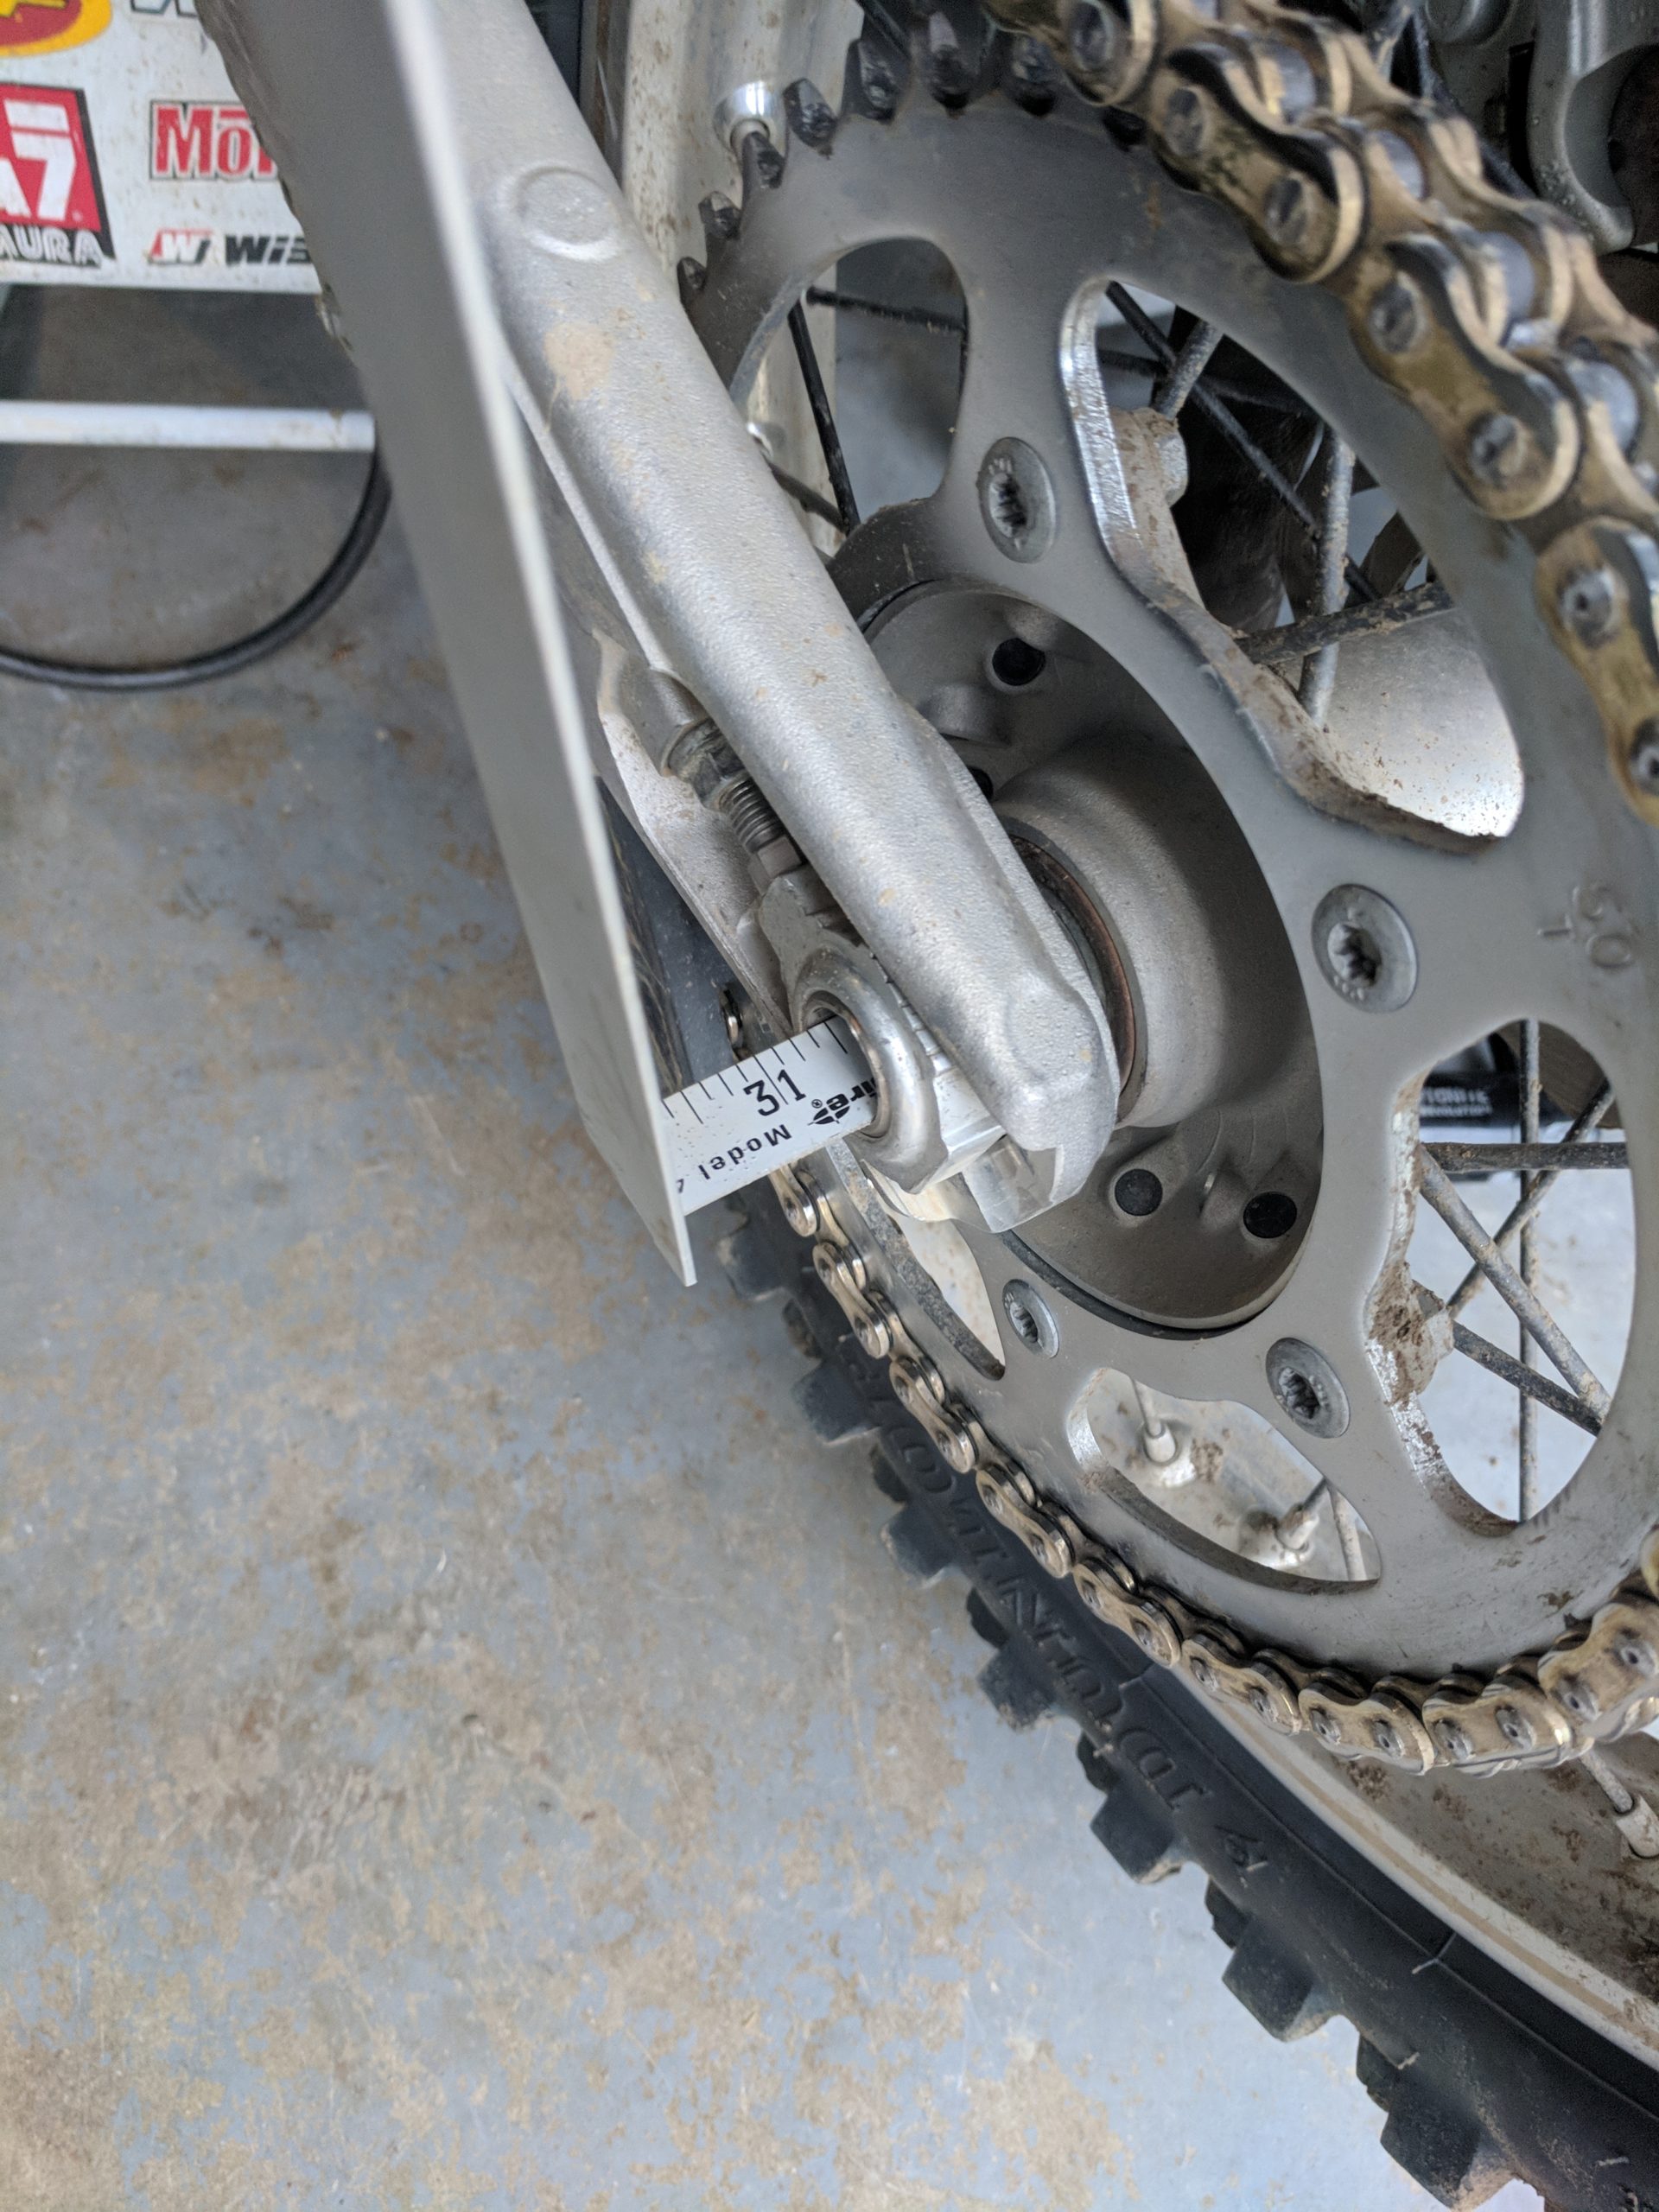
Setting marks at common sag settings

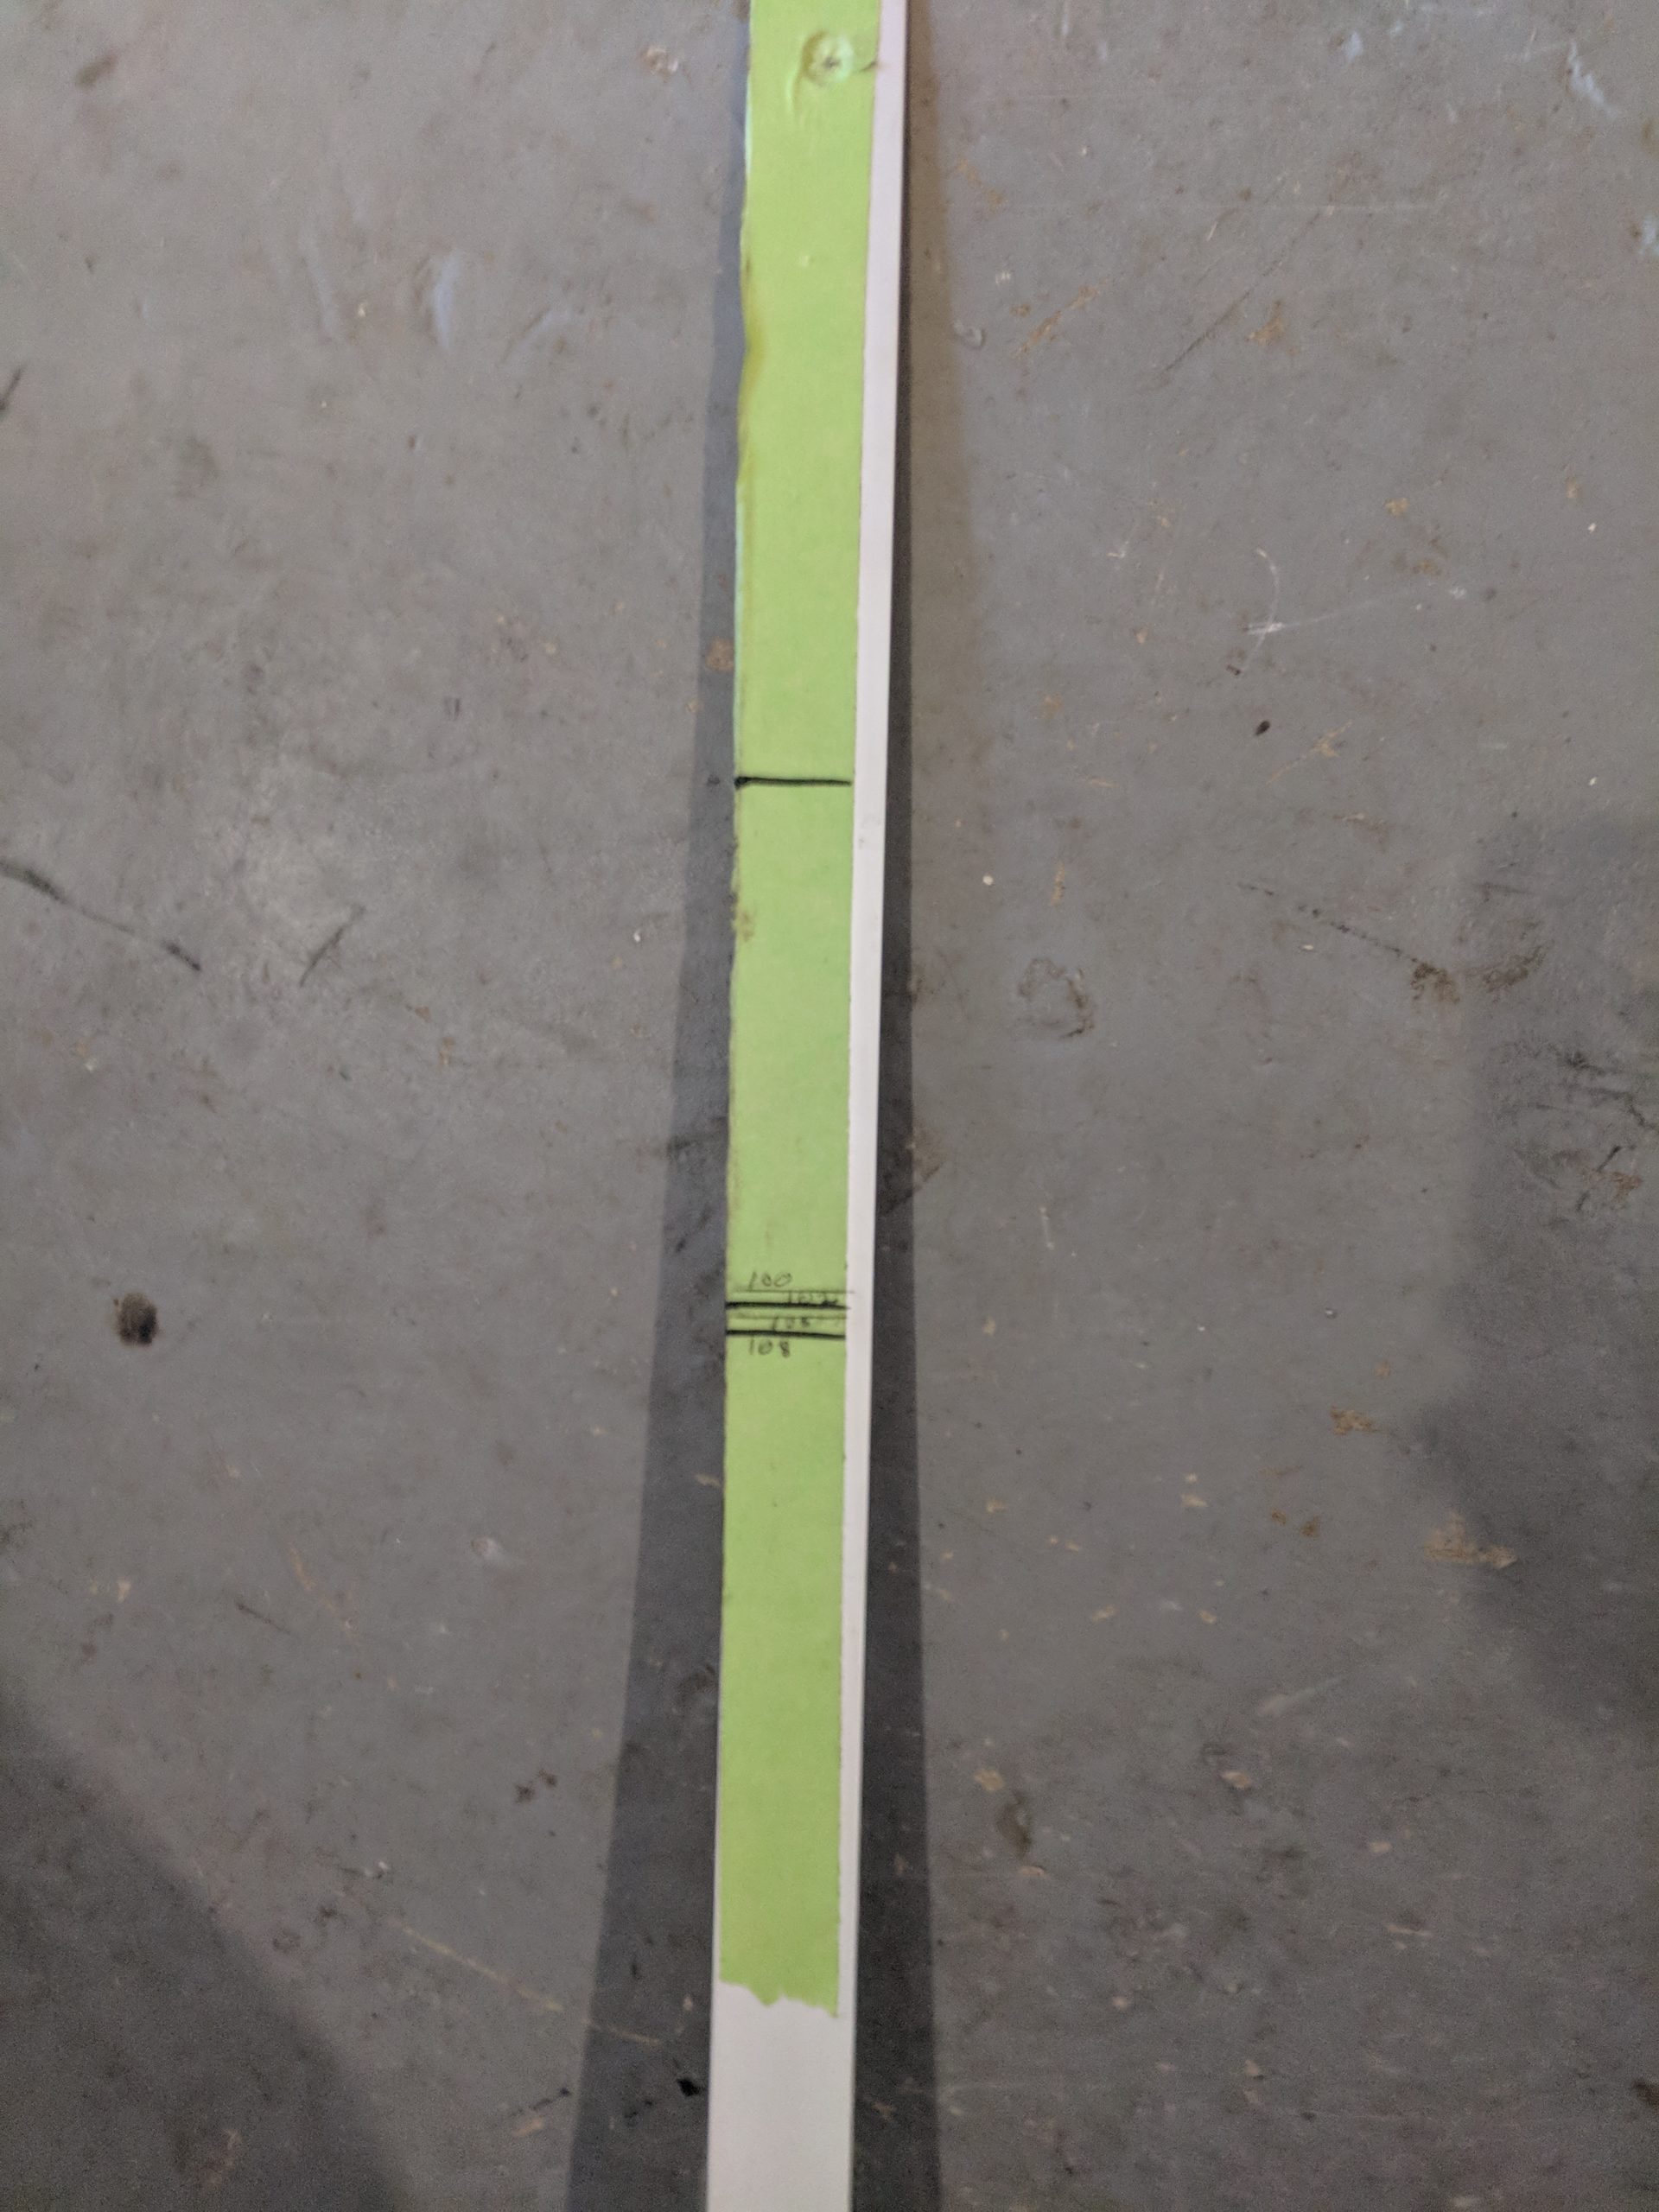
Wrap the top of the ruler with tape and with the sag setting tool in the axle, mark a reference point on the rear fender with the bike on its stand.  I used the borderline on my rear number plate.

Sag setting tool measuring marks

Take the ruler out and measure down 100mm, 105mm, 108mm.  These are the common settings that I use.  You can use whatever sag settings you commonly use, and mark those on the ruler.  Now you can set your sag without needing a measuring tape or another person.  I found the ruler will stay in place when I’m adjusting on my bike and it much easier to turn and around and check the sag setting than trying to keep a tape measure in place and read it at the same time.

Sag setting tool predetermined sag marks

Add a Comment

« WPS Featherweight Lithium Battery Review
Differential fluid change – 2008 Toyota Tundra rear end »

Leave a Reply Cancel reply

Your email address will not be published. Required fields are marked *

Recent Posts

  • KTM 250 SX-F Spark Plug Replacement NGK LMAR9AI-8
  • Toyota Tundra Fender Liner Kit
  • Ducati Monster Oil Change
  • Motorcycle Chain Adjustment KTM SuperDuke 990
  • NGK Iridium Spark Plugs Ducati Monster 696

Copyright © 2025 · Glam Theme on Genesis Framework · WordPress · Log in

  • Disclaimer
  • About Me